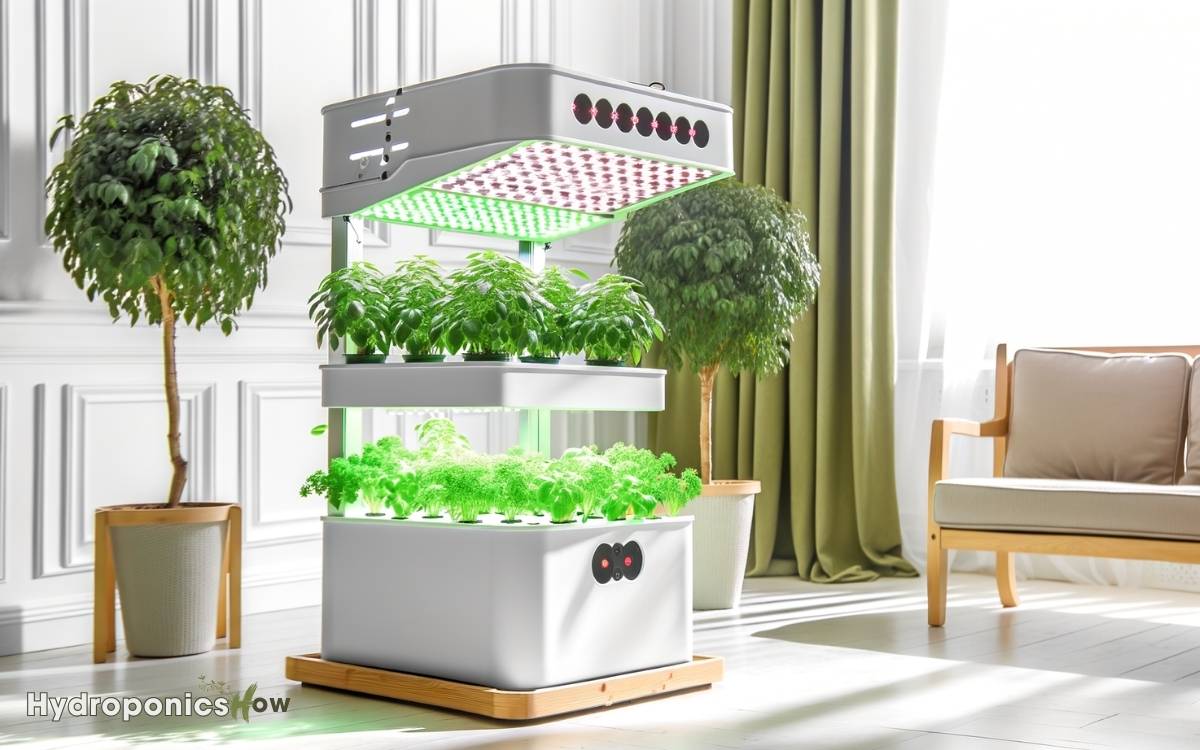
DIY Full Guide: Build a Big Smart Indoor Hydroponic Planter
Constructing your own big smart indoor hydroponic planter can greatly enhance plant growth with efficient water usage up to 90% less than traditional gardening.
Start with a pH and TDS meter, reliable pump, air stones, and full-spectrum LED grow lights. Choose fast-growing plants like lettuce or herbs. Assemble a sturdy frame from materials like PVC or treated wood.
Calibrate smart controllers for ideal conditions including pH, EC, temperature, and light cycles. Use clean, filtered water and high-quality nutrient solutions, maintaining pH between 5.5 and 6.5.
Regularly monitor plant health and nutrient levels to ensure steady growth. Keep refining advanced techniques and best practices.
Key Takeaways
Benefits of Hydroponic Gardening
In addition, hydroponic gardening offers several advantages, including efficient water usage, precise nutrient management, and accelerated plant growth.
By eliminating soil, you can reduce water consumption by up to 90%. Plants get direct access to nutrients dissolved in the water, allowing you to control the exact nutrient mix. This precision minimizes waste and optimizes growth conditions.
Additionally, hydroponic systems often result in faster plant growth due to enhanced oxygenation at the root level and consistent nutrient delivery.
You can also avoid soil-borne diseases, leading to healthier plants. The controlled environment of an indoor setup further reduces the risk of pests.
Essential Materials
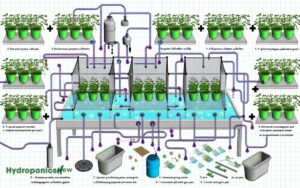
To set up your Big Smart Indoor Hydroponic Planter, you’ll need to gather specific tools, choose appropriate plant varieties, and prepare the correct water and nutrient solutions. Ensure the nutrient solutions are mixed according to the plant’s requirements to promote healthy growth. If you’re interested in customizing your system, consider building a DIY hybrid hydroponics planter to experiment with different growing methods. Proper lighting and regular maintenance will also help maximize your planter’s efficiency.
Guarantee you have a pH meter, grow lights, and a reliable pump system.
Selecting plants that thrive in hydroponic conditions and mixing nutrient solutions with precision will optimize your planter’s efficiency.
Necessary Tools Required
You’ll need a precise set of tools and materials to successfully set up your Big Smart Indoor Hydroponic Planter. Begin with a pH meter to monitor nutrient solutions, essential for plant health.
A TDS (Total Dissolved Solids) meter will help you gauge nutrient concentration. Use a grow light spectrum tailored for indoor plants to simulate sunlight. A water pump ensures proper circulation, preventing stagnation.
Air stones and an air pump will oxygenate the water, critical for root development. You’ll also need net pots, growing media like clay pebbles, and a reservoir for nutrient solutions.
Lastly, make sure you have a timer to regulate light cycles and a thermometer to monitor temperature, maintaining ideal plant growth conditions.
Specific Plant Choices
Selecting the appropriate plants for your Big Smart Indoor Hydroponic Planter is crucial for maximizing growth and yield.
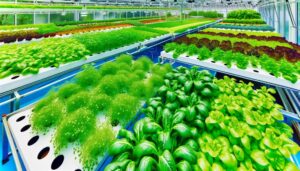
Opt for fast-growing, water-loving plants such as lettuce (Lactuca sativa), spinach (Spinacia oleracea), and herbs like basil (Ocimum basilicum) or mint (Mentha).
These species thrive in hydroponic systems due to their shallow root systems and rapid nutrient uptake.
Consider dwarf varieties of fruiting plants like cherry tomatoes (Solanum lycopersicum var. cerasiforme) and strawberries (Fragaria × ananassa) if space allows. Be mindful of the photoperiod requirements; some plants need longer light exposure.
Avoid root vegetables like carrots or potatoes as they require extensive soil depth. Choosing compatible plants ensures efficient resource use and robust growth.
Water and Nutrient Solutions
Ensuring your Big Smart Indoor Hydroponic Planter has the right water and nutrient solutions is essential for maximizing plant health and productivity.
Start by using clean, filtered water to avoid contaminants. Tap water often contains chlorine, which can harm plants, so consider using a dechlorinator.
Next, select a high-quality hydroponic nutrient solution tailored to your specific plants. These solutions provide essential macronutrients like nitrogen, phosphorus, and potassium, along with micronutrients such as magnesium and iron.
Regularly monitor the pH level; it should be between 5.5 and 6.5 for optimal nutrient uptake. Use a digital pH meter for accuracy.
Choosing the Right Plants
When selecting the right plants for your indoor hydroponic system, consider factors such as growth rate, light requirements, and nutrient needs. Choosing the appropriate plants guarantees peak yield and efficient resource utilization.
Here are key factors to evaluate:
- Growth Rate: Fast-growing plants like lettuce and spinach are ideal for beginners, providing quick results and easy maintenance.
- Light Requirements: Leafy greens typically thrive under lower light conditions, while fruiting plants like tomatoes need intense light.
- Nutrient Needs: Different plants have varying nutrient demands. Make sure your nutrient solution matches the specific requirements of your chosen plants.
- Space Utilization: Compact plants such as herbs can maximize your system’s space, whereas larger plants may require more room and support.
Select wisely to optimize your hydroponic system’s performance.
Building the Frame
To start building the frame, you’ll need to select materials that offer durability and stability, such as treated wood or metal.
Once you’ve gathered the materials, follow precise assembly steps to guarantee structural integrity and alignment.
Accurate measurements and secure fastenings are crucial to support the hydroponic system effectively.
Material Selection
Selecting the appropriate materials for building the frame of your big smart indoor hydroponic planter is essential for ensuring structural integrity and long-term durability. You need to prioritize materials that are strong, resistant to moisture, and easy to work with.
Here are four key materials worth exploring:
- Aluminum: Lightweight, corrosion-resistant, and durable, making it ideal for a humid environment.
- PVC Pipes: Cost-effective, easy to cut and assemble, and resistant to water damage.
- Stainless Steel: Offers excellent strength and corrosion resistance but is heavier and more expensive.
- Wood (Treated Lumber): Provides a natural aesthetic but requires sealing to prevent rot and mold.
Frame Assembly Steps
Start by gathering all your chosen materials and tools, ensuring you have precise measurements and a clear blueprint for the frame assembly.
Begin by cutting your wood or metal to the specified lengths. Use a miter saw for angled cuts if needed.
Lay out the base frame on a flat surface, ensuring right angles with a carpenter’s square. Pre-drill holes to prevent wood splitting, then secure joints with screws or bolts. For added stability, reinforce corners with brackets.
Assemble vertical supports, ensuring they’re plumb using a spirit level. Attach crossbeams at designated heights for additional structural integrity.
Double-check alignment and tighten all fasteners. Your frame is now ready for the next stage of your hydroponic planter build.
Setting Up the Reservoir
Before installing your hydroponic system, make sure the reservoir is clean and free of any debris. This step is essential to prevent contamination and guarantee ideal nutrient uptake. Use a mild bleach solution to sterilize the reservoir, then rinse thoroughly with water.
Now, follow these steps to set up your reservoir:
- Volume Calculation: Determine the volume of water your reservoir can hold. This helps in accurate nutrient solution preparation.
- Placement: Position the reservoir in a stable, shaded area to maintain consistent water temperature.
- Aeration: Install an air stone and pump to oxygenate the water, promoting healthy root growth.
- Nutrient Mix: Prepare and add the nutrient solution according to the specific needs of your plants, ensuring proper pH levels.
Each step ensures a strong foundation for your hydroponic planter.
Installing the Pump System
To install the pump system, you’ll need to carefully position the pump inside the reservoir, making sure the intake is fully submerged for best water flow.
| Step | Action |
|---|---|
| 1 | Position pump inside reservoir |
| 2 | Make sure intake is fully submerged |
| 3 | Attach tubing to pump outlet |
| 4 | Route tubing to grow tray without kinks |
Test the system by plugging in the pump and observing the water flow. Adjust the pump’s position if necessary to maintain a consistent and efficient operation.
Adding Grow Lights
Installing grow lights is essential for providing the ideal light spectrum and intensity that your plants need for vigorous growth.
To guarantee optimal plant development, follow these methodical steps:
- Select the Right Spectrum: Choose full-spectrum LED grow lights that mimic natural sunlight, covering blue (400-500 nm) and red (600-700 nm) wavelengths essential for photosynthesis.
- Determine Light Intensity: Measure light intensity in micromoles per square meter per second (µmol/m²/s). Aim for 200-400 µmol/m²/s for leafy greens and 400-600 µmol/m²/s for fruiting plants.
- Set Up Proper Distance: Position grow lights 12-18 inches above the plant canopy to avoid light burn and ensure even light distribution.
- Implement Reflective Materials: Use reflective materials like Mylar on surrounding walls to maximize light efficiency and reduce energy waste.
Setting Up the Smart Controller
Configuring the smart controller involves calibrating sensor inputs, setting desired parameters, and ensuring seamless integration with other system components for peak plant growth.
- First, connect the pH and EC sensors. Calibrate them using buffer solutions to guarantee accurate readings.
- Next, set your desired temperature, humidity, and light cycles on the controller. Use the manufacturer’s app or interface to program these parameters.
- Integrate the controller with your grow lights and water pumps, making sure they respond to sensor data.
- Test the system by running a cycle to verify that all components communicate effectively. Adjust any deviations in real-time to maintain ideal conditions.
This precise setup guarantees your plants receive consistent care, promoting healthy and robust growth.
Nutrient Solutions
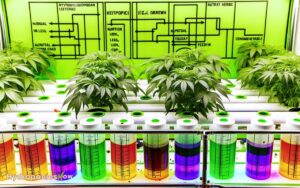
Selecting the appropriate nutrient solution is essential for maximizing plant growth in your hydroponic system. You’ll need to guarantee the right balance of macronutrients and micronutrients to support healthy development.
Consider the following key elements:
- Macronutrients: Make sure solutions contain nitrogen (N), phosphorus (P), and potassium (K), which are vital for plant growth and reproduction.
- Micronutrients: Include essential elements like iron (Fe), manganese (Mn), and zinc (Zn) to prevent deficiencies and promote peak health.
- pH Levels: Maintain a pH range between 5.5 and 6.5 to optimize nutrient uptake. Test regularly and adjust as needed.
- Conductivity: Monitor Electrical Conductivity (EC) to gauge nutrient concentration. Aim for 1.0 to 2.5 mS/cm, depending on plant type.
Careful management of these factors will greatly improve your hydroponic success.
Planting the Seeds
To successfully start your hydroponic garden, you’ll need to carefully plant the seeds in a sterile growing medium, ensuring they’ve correct spacing and depth for best germination. Begin by selecting a high-quality, pH-neutral medium such as rock wool or coco coir.
Moisten the medium to facilitate seed adhesion and nutrient uptake. Using tweezers, place each seed at the recommended depth, typically around 1/4 inch, and maintain a distance of at least 1 inch between seeds to prevent overcrowding.
Cover the seeds lightly with the medium, ensuring they remain moist but not waterlogged.
Monitoring and Maintenance
Once your seeds are planted, you’ll need to regularly monitor pH levels, nutrient concentration, and water quality to guarantee maximum growth. Accurate monitoring guarantees ideal conditions for your plants.
Here’s a methodical approach:
- Measure pH Levels: Use a digital pH meter to maintain a pH range between 5.5 and 6.5. Calibrate the meter regularly for precision.
- Check Nutrient Solutions: Utilize a TDS (Total Dissolved Solids) meter to keep nutrient concentration within 800-1200 ppm, depending on plant type.
- Observe Water Quality: Change the water every two weeks to prevent pathogen buildup. Ensure the water’s temperature remains between 65-75°F.
- Inspect Plant Health: Regularly examine roots and leaves for signs of nutrient deficiency or disease.
Consistent monitoring and maintenance will result in healthier plants and higher yields.
Troubleshooting Common Issues
Identifying common issues early, such as nutrient imbalances or root rot, is essential for maintaining the health and productivity of your hydroponic system.
Start by monitoring the pH and electrical conductivity (EC) levels regularly.
A pH range of 5.5-6.5 is ideal for nutrient uptake. If you notice yellowing leaves, this could indicate a nitrogen deficiency, which you can correct by adjusting your nutrient mix.
Root rot, caused by Pythium fungi, can be mitigated by ensuring proper aeration and water temperature below 75°F (24°C). Regularly inspect roots for a healthy white color.
Also, check for pests like aphids and spider mites, which can be controlled with neem oil or insecticidal soap. Accurate diagnosis and prompt action are key to resolving these issues.
Harvesting and Enjoying Your Plants
Harvesting your hydroponically grown plants at the best time guarantees maximum flavor, nutritional value, and yield. Start by observing your plants closely, noting changes in color, size, and texture.
Utilize the following steps:
- Timing: Harvest leafy greens like lettuce and spinach when they reach approximately 6-8 inches tall. For herbs, trim them once they’ve developed a few sets of true leaves.
- Tools: Use sterilized scissors or pruners to prevent disease transmission.
- Technique: Cut just above a node to encourage regrowth, ensuring sustained yield.
- Storage: Immediately refrigerate harvested produce to preserve freshness and nutrient content.
Conclusion
You’ve now got a thriving indoor hydroponic garden, merging the complexity of technology with the simplicity of nature. By meticulously following each step from selecting materials to troubleshooting common issues you’ve transformed your space into a productive oasis.
The satisfaction of monitoring pH levels contrasts with the joy of harvesting fresh greens. Your dedication to precision and care guarantees a bountiful yield, proving that science and nature can harmoniously coexist in your home.
Enjoy the fruits of your labor!

