3 Steps to Build a DIY Water Chiller for Hydroponics
Creating a DIY water chiller for hydroponics involves maintaining ideal water temperatures, enabling efficient nutrient uptake and healthy plant growth. Essential components include a thermoelectric cooling module, a heat sink with fan, and an insulated reservoir.
The water pump should have a flow rate matching the system capacity, ideally 400-600 GPH for small to medium systems. Accurate temperature monitoring is vital for adjustments between 65-75°F (18-24°C).
Regular maintenance, including inspection of heat exchangers and electrical connections, guarantees system efficiency. Explore further to gain in-depth insights on assembly, materials selection, and detailed construction techniques.
Key Takeaways
- Temperature Control: Maintain ideal water temperatures (65-75°F) for optimal nutrient uptake and plant health.
- Cost Efficiency: Utilize easily accessible materials to create a budget-friendly DIY water chiller.
- Components Required: Essential parts include a thermoelectric cooling module, heat sink with fan, and insulated water reservoir.
- Pump Selection: Choose a water pump with a suitable flow rate (400-600 GPH) and energy efficiency for reliable operation.
Understanding Water Temperature

Maintaining an ideal water temperature is essential for hydroponic systems, as it directly influences nutrient uptake, oxygen levels, and overall plant health.
The best temperature range for most hydroponic systems is between 65°F and 75°F (18°C to 24°C). Within this range, nutrient solubility and oxygen availability are maximized, ensuring efficient nutrient absorption and robust root development.
Temperatures above 75°F can lead to decreased oxygen levels and increased susceptibility to root pathogens, while temperatures below 65°F can slow metabolic processes and nutrient uptake.
Precise control of water temperature is therefore pivotal to maintaining an ideal growing environment, supporting both vigorous plant growth and system efficiency.
Continuous monitoring and adjustment are important to achieving these precise conditions.
Benefits of a DIY Water Chiller
Implementing a DIY water chiller in your hydroponic system frequently offers numerous advantages, including precise temperature regulation, cost-efficiency, and enhanced control over the growing environment.
Precise temperature regulation guarantees ideal nutrient uptake and plant health, essential for maximizing growth rates and yield.
Cost-efficiency arises from using readily available, affordable materials, making it accessible for enthusiasts and professionals alike.
Enhanced control over the growing environment allows for customization and adaptability to specific plant needs, enabling superior management of root zone conditions.
This innovation mitigates risks associated with temperature fluctuations, such as root diseases and reduced oxygen levels, thereby promoting a stable, thriving hydroponic ecosystem.
Materials Needed
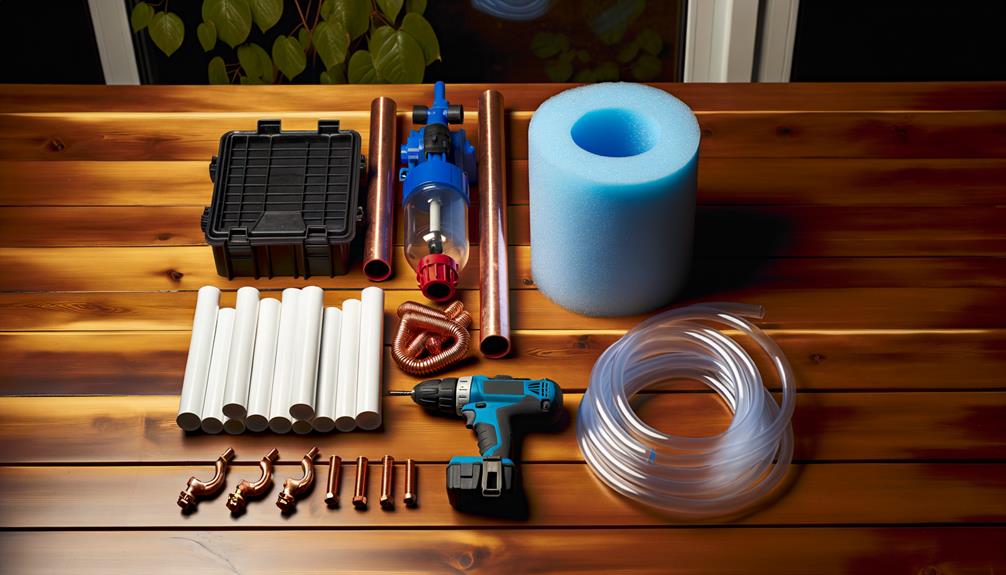
To construct a DIY water chiller for your hydroponic system, you will need a precise selection of materials that guarantee both efficiency and durability. These materials are significant in maintaining the ideal temperature for your nutrient solution, ensuring the health and productivity of your plants.
Below is a detailed list of essential components:
- Thermoelectric cooling module (Peltier element): Vital for providing the cooling effect by transferring heat from one side of the device to the other.
- Heat sink with fan: Essential for dissipating the heat generated by the thermoelectric module, maintaining the system's thermal balance.
These components form the core of a reliable, efficient DIY hydroponic water chiller.
Choosing the Right Pump
Selecting the appropriate pump is essential for guaranteeing consistent water circulation and ideal nutrient delivery in your hydroponic system.
When choosing a pump, consider its flow rate, which should match your system's capacity and the volume of water to be cooled. A submersible pump with a flow rate of 400-600 gallons per hour (GPH) is generally suitable for small to medium systems.
Additionally, examine the pump's head height capability to verify it can effectively circulate water through your cooling setup.
Opt for energy-efficient models equipped with variable speed controls for precise adjustments and reduced operational costs.
Reliable brands known for durability and low maintenance should be prioritized to minimize downtime and maximize the system's longevity, fostering an innovative hydroponic environment.
Building the Cooling Coil

Building an effective cooling coil requires careful selection of materials to guarantee thermal conductivity and durability.
Techniques for coiling must be precise to optimize surface area contact with the water, enhancing heat exchange efficiency.
Proper installation is essential to maintain system integrity and prevent leaks, assuring reliable operation of your hydroponic water chiller.
Choosing Coil Materials
When deciding on materials for constructing the cooling coil, it is essential to take into account thermal conductivity, corrosion resistance, and ease of fabrication to guarantee top performance and durability in a hydroponic system.
Ideal materials include:
- Copper: Known for its superior thermal conductivity and ease of bending, copper is ideal for efficient heat exchange. However, it requires protective coatings to prevent corrosion in nutrient-rich environments.
- Stainless Steel: Offers excellent corrosion resistance and durability, making it a reliable choice. Its lower thermal conductivity compared to copper is a trade-off for its longevity.
Selecting the right material is pivotal for ensuring the effectiveness and longevity of your hydroponic water chiller.
Coiling Techniques Explained
Mastering the art of coiling techniques is essential for constructing an efficient and reliable cooling coil for your hydroponic system.
Begin by selecting a mandrel with a diameter that matches your system's requirements. Secure the copper or stainless steel tubing to the mandrel using clamps to guarantee stability during the coiling process.
Slowly and evenly wrap the tubing around the mandrel, maintaining consistent spacing to maximize surface area contact with the coolant. Avoid kinking the tubing by applying steady pressure and keeping bends smooth.
Precision in these steps guarantees ideal heat exchange, leading to better thermal regulation.
Once coiled, inspect for uniformity and integrity, guaranteeing no damage before proceeding to the next stage of assembly.
Coil Installation Tips
Proper installation of the cooling coil is critical to guaranteeing ideal performance and longevity of your hydroponic water chiller system. Attention to detail during this phase can prevent common issues such as leaks, inefficiency, and reduced lifespan.
To achieve optimal results, consider the following tips:
- Material Selection: Use corrosion-resistant materials like stainless steel or titanium to prevent degradation and guarantee durability.
- Coil Placement: Position the coil where water flow is consistent and unobstructed, maximizing heat exchange efficiency.
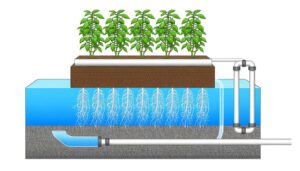
Setting Up the Reservoir
Setting up the reservoir is critical for efficient operation of your DIY water chiller.
First, select a reservoir material that is durable, non-reactive, and well-insulated to maintain ideal temperature control.
Next, confirm the proper installation of a water pump to facilitate consistent water circulation through the cooling system.
Selecting Reservoir Material
Choosing the appropriate reservoir material is essential to maintaining ideal water temperatures and ensuring the longevity and efficiency of your hydroponic system. The selection of the right material can greatly impact thermal insulation, durability, and the system's overall performance.
Consider the following materials:
- Food-Grade Plastic: Lightweight, cost-effective, and resistant to algae growth.
- Stainless Steel: Offers excellent durability and thermal control, albeit at a higher cost.
Each material has its unique advantages and potential drawbacks, tailored to specific operational needs and budget constraints.
Installing Water Pump
Integrating the water pump into your hydroponic system involves precise positioning within the reservoir to guarantee ideal water circulation and temperature control. To achieve this, make certain the pump is placed centrally and securely at the bottom of the reservoir. This positioning maximizes water uptake and minimizes air bubbles, which can disrupt pump operation. Use the following guidelines to enhance system efficiency:
| Component | Function | Tips for Installation |
|---|---|---|
| Water Pump | Circulates nutrient solution | Place centrally at bottom |
| Tubing | Channels water to and from chiller | Use flexible, durable tubing |
| Power Supply | Powers the water pump | Make certain waterproof connections |
| Reservoir Lid | Protects from debris and light | Secure tightly, easy access |
Adhering to these recommendations guarantees peak hydroponic system performance and longevity.
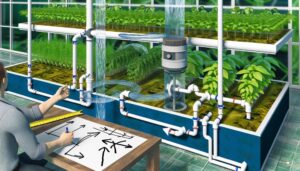
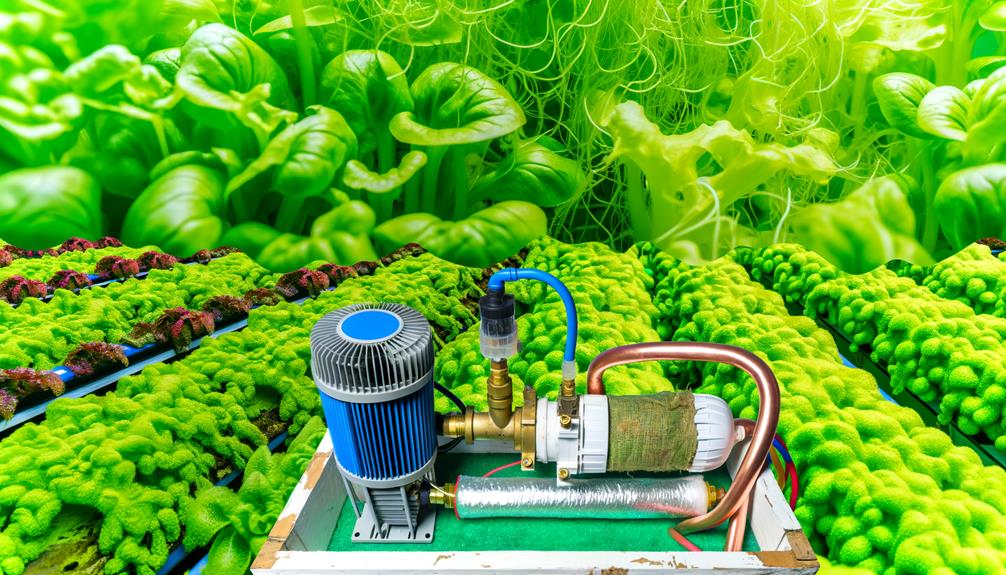
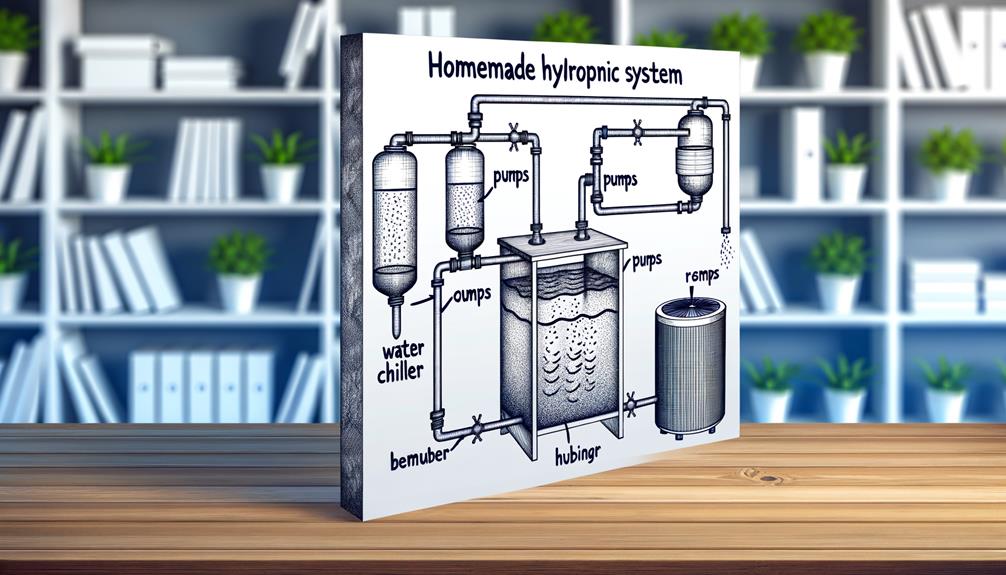
Assembling the System
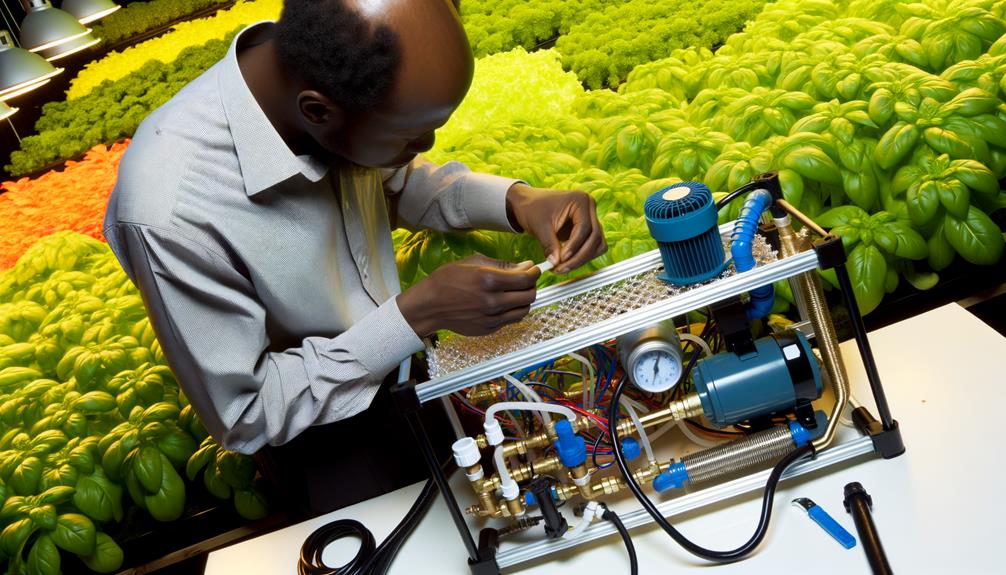
Begin by securely mounting the heat exchanger inside the hydroponic reservoir, guaranteeing it is positioned to maximize contact with the nutrient solution. This step is critical for efficient thermal exchange.
Next, connect the heat exchanger to the water pump using high-quality, flexible tubing. Ensure all connections are tight to prevent leaks.
After that, install the cooling unit, which can be a modified mini-fridge or a dedicated chiller, outside the reservoir. Position it to allow ideal airflow and easy maintenance.
- Heat Exchanger Positioning: Mount securely to maximize contact with the nutrient solution.
- Connection Setup: Use high-quality, flexible tubing for leak-proof connections.
Testing and Adjustments
After completing the assembly, carefully fill the reservoir with nutrient solution and power on the system to begin monitoring temperature changes and flow rates. Utilize precise digital thermometers and flow meters to record initial readings.
Observe for any leaks or irregularities in the chiller's operation. Adjust the thermostat to achieve the desired temperature range, typically between 18-22°C for ideal plant growth. Periodically measure the temperature at multiple points within the system to guarantee uniform cooling.
Additionally, verify that the water pump maintains consistent flow rates to avoid any hotspots. Fine-tune the chiller settings incrementally, allowing time for the system to stabilize before making further adjustments.
This meticulous approach guarantees peak performance and longevity of the hydroponic chiller setup.
Maintenance Tips
Proper maintenance of your DIY water chiller is essential to guarantee peak performance and longevity of the system. Regular upkeep guarantees that the chiller operates efficiently, preventing potential disruptions in your hydroponic setup.
Here are some critical maintenance tips:
- Inspect and Clean the Heat Exchanger: Regularly check for debris and mineral buildup that can reduce heat transfer efficiency. Use a soft brush or chemical cleaner for thorough cleaning.
- Monitor Water Quality: Confirm the water is free from contaminants that could clog the system. Periodic water testing and filtration can prevent sediment accumulation.
Implementing these measures will sustain peak functionality.
Troubleshooting Common Issues
Identifying and resolving common issues with your DIY water chiller is essential to maintaining the efficiency and reliability of your hydroponic system.
One frequent problem is inadequate cooling performance, often due to insufficient thermal conductivity of the cooling coil or poor water circulation. Confirm the coil material is highly conductive, such as copper, and verify that the pump provides adequate flow rate.
Another issue might be ice formation on the cooling coil, a sign of excessively low coolant temperatures. Adjust the thermostat to maintain a balanced temperature.
Additionally, leaks in the system can lead to water loss and reduced efficiency; regularly inspect and tighten all connections.
Addressing these issues promptly will confirm ideal chiller performance and promote robust plant growth.
Conclusion
In summary, constructing a DIY water chiller for hydroponics is a complex yet rewarding endeavor, offering notable benefits in maintaining ideal water temperature.
Mastery of each component, from selecting the appropriate pump to assembling the cooling coil, guarantees a successful build.
Proper maintenance and troubleshooting are essential to keep the system running smoothly.
By following the outlined steps, the fruits of one’s labor will be evident in the enhanced growth and health of the hydroponic plants. This improved growth results from the optimal balance of nutrients, water, and oxygen provided to the plants. One crucial step is to oxygenate water for hydroponics, ensuring that the roots receive adequate oxygen for nutrient absorption and overall vitality. By maintaining these conditions, growers can achieve healthier plants with increased yields and more robust development.