Hydroponic Garden Diy From Soda Bottles
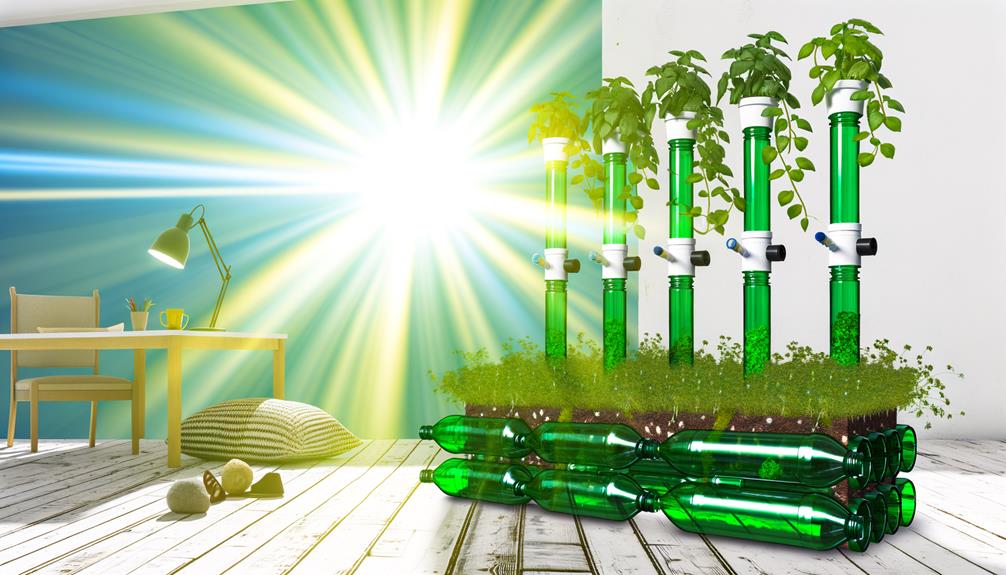
Creating a hydroponic garden using repurposed soda bottles involves several technical steps. Start by thoroughly cleaning and disinfecting the bottles, cutting them approximately two-thirds from the base, and drilling small drainage holes.
Assemble the system vertically for ideal light exposure and use wicking materials for nutrient uptake. Essential components include a balanced nutrient solution with controlled pH, LED grow lights, and an air pump for aeration to prevent root hypoxia.
Regular monitoring of pH levels and electrical conductivity, combined with proper pruning, guarantees plant health. For a deeper understanding of the setup and maintenance processes, additional specific details are available.
Key Takeaways
- Bottle Preparation: Clean, disinfect, and cut soda bottles to create a reservoir and planting container.
- Nutrient Solution: Use a balanced nutrient solution with a pH of 5.5 to 6.5 for optimal plant growth.
- Lighting: Employ high-efficiency LED grow lights to simulate natural sunlight and support plant development.
- Aeration: Use an air pump to aerate the nutrient solution, preventing root hypoxia and promoting healthy growth.
Materials Needed
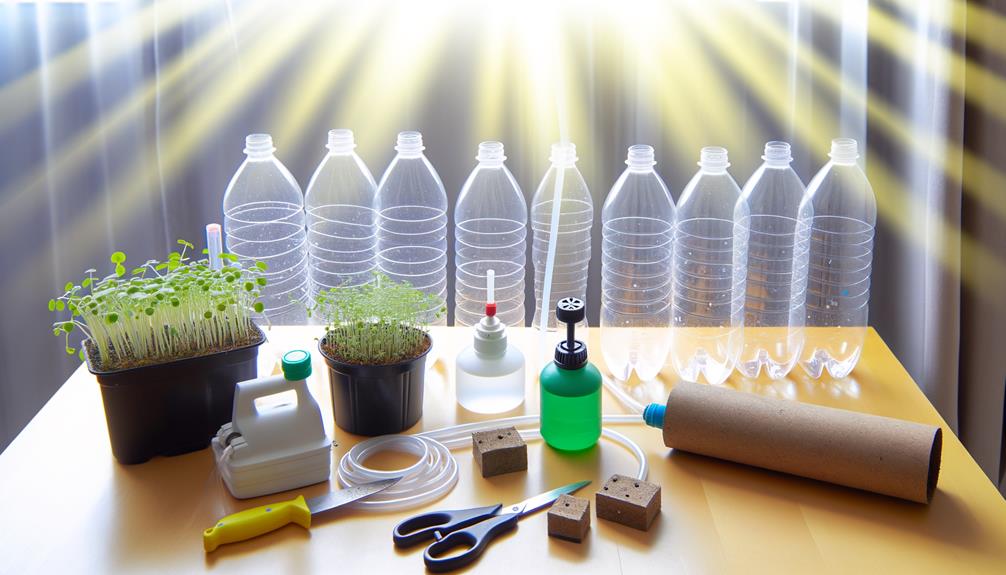
To construct a hydroponic garden, essential materials include nutrient solutions, growing mediums, containment systems, and appropriate lighting equipment.
Nutrient solutions must contain balanced macro and micronutrients to support ideal plant growth.
Growing mediums such as rockwool, perlite, or coconut coir provide structural support while ensuring adequate aeration and moisture retention.
Containment systems, often repurposed from soda bottles, serve as reservoirs and planting containers, facilitating nutrient delivery and root oxygenation.
High-efficiency LED grow lights are recommended to simulate natural sunlight, ensuring photosynthesis and plant development.
Additionally, pH meters and electrical conductivity (EC) meters are indispensable tools for monitoring and adjusting nutrient solution parameters.
These components collectively form the foundation of a successful hydroponic gardening system.
Preparing the Bottles
Begin by thoroughly cleaning and sanitizing the repurposed soda bottles to eliminate any contaminants that could compromise plant health.
Use a mild, non-toxic detergent followed by a rinse with a diluted bleach solution (1 part bleach to 9 parts water) to guarantee complete disinfection.
Allow the bottles to air dry completely before proceeding.
Next, prepare the bottles for the hydroponic system:
- Cut the bottles: Using a sharp utility knife, cut the bottles approximately two-thirds of the way up from the base.
- Create drainage holes: Drill small holes in the base section to facilitate nutrient solution flow.
- Install wicks: Insert cotton wicks through the cap to help draw nutrient solution to the plant roots.
- Paint the bottles: Apply opaque paint to prevent algae growth caused by light exposure.
Setting Up the System
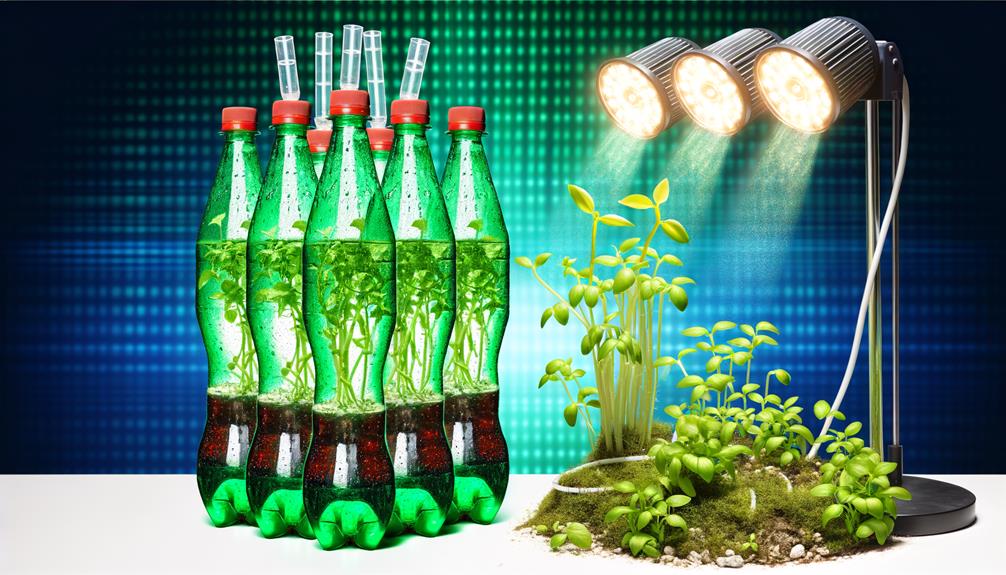
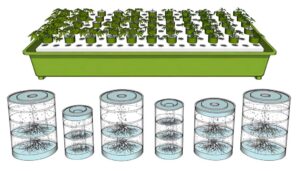
With the prepared bottles ready, the next step involves assembling the components of the hydroponic system to guarantee ideal nutrient delivery and plant support. Begin by positioning the bottles in a vertical array to optimize space utilization and light exposure. Connect each bottle using a series of wicking materials, verifying efficient nutrient uptake.
To enhance system functionality, employ an air pump to aerate the nutrient solution, preventing root hypoxia. Secure the bottles with a sturdy frame to maintain structural integrity. Below is a concise guide to the essential components:
| Component | Function |
|---|---|
| Wicking Material | Facilitates nutrient transfer to plant roots |
| Air Pump | guarantees oxygenation of the nutrient solution |
| Support Frame | Provides stability and structural support |
This meticulous setup guarantees a robust hydroponic system conducive to plant growth.
Planting and Maintenance
Once the hydroponic system is assembled, initiate the planting process by selecting seedlings suited for hydroponic growth and verifying their roots are properly anchored in the wicking material.
Consistent monitoring and maintenance are essential for ideal plant health and growth. Follow these steps to guarantee successful cultivation:
- Nutrient Solution: Prepare a balanced hydroponic nutrient solution, adjusting pH levels to between 5.5 and 6.5 for ideal nutrient uptake.
- Lighting: Verify plants receive adequate light, using full-spectrum LED grow lights if natural light is insufficient.
- Temperature and Humidity: Maintain an ambient temperature between 65-75°F and relative humidity of 50-70%.
- Pruning: Regularly prune plants to promote airflow and prevent mold or pest infestations.
These practices will foster vigorous plant development.
Troubleshooting Tips
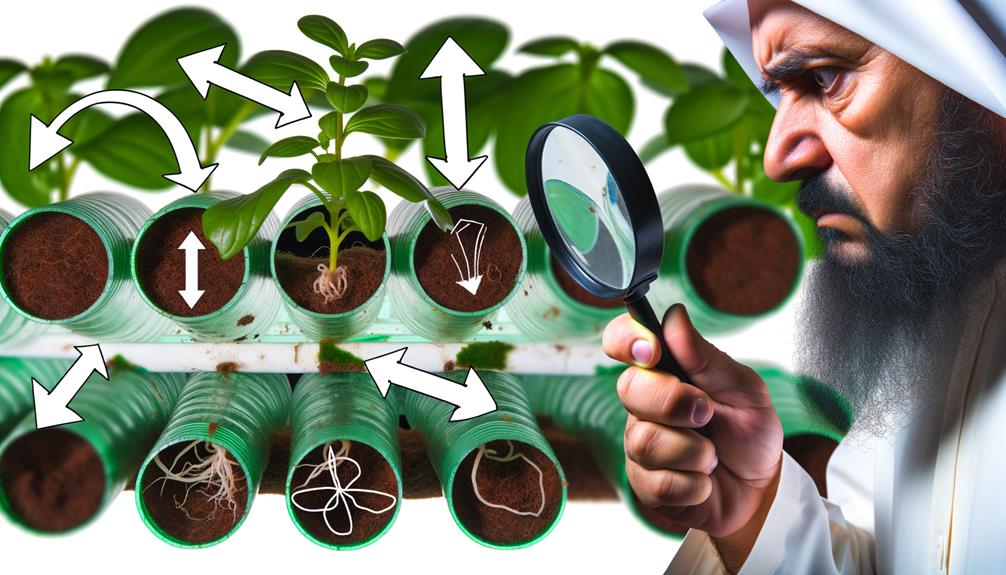
Identifying and addressing common issues in hydroponic systems is essential to ensuring ideal plant health and productivity.
Nutrient imbalances can manifest as chlorosis or stunted growth; monitoring Electrical Conductivity (EC) and pH levels regularly is paramount.
Algal blooms, often resulting from light exposure to nutrient reservoirs, can be mitigated by using opaque containers.
Root rot, caused by waterborne pathogens, necessitates maintaining proper oxygenation via air stones or pumps.
Pests such as aphids and spider mites require integrated pest management, including biological controls and neem oil.
Additionally, ensuring consistent water flow prevents issues like nutrient lockout and oxygen deprivation.
Conclusion
The implementation of hydroponic gardens using repurposed soda bottles demonstrates a significant reduction in water usage, up to 90% less compared to traditional soil gardening.
This method offers a sustainable and efficient solution for urban agriculture, allowing for the cultivation of plants in limited spaces.
Mastery of the techniques involved, including nutrient management and system maintenance, is essential for ideal plant growth.
This innovative approach highlights the potential for resource conservation and sustainable food production in urban environments.

