5 Simple Steps to Build Your Own Wick Hydroponic System
Building a Wick Hydroponic System involves several key steps, beginning with gathering materials like a suitable container, wicking materials (e.g., nylon or cotton), and a growing medium (perlite or coco coir). Choose a food-grade, adequately sized container with proper drainage.
Install the wicks through holes in the container's bottom, making sure they access the nutrient solution in a non-reactive reservoir. Prepare and adjust the nutrient solution to a pH of 5.5-6.5.
Plant seeds in the prepared medium, making certain wick contact. Regularly monitor water levels, light, and temperature for peak plant growth.
There are more steps and tips to guarantee success.
Key Takeaways
- Gather essential materials including a suitable container, wicking material, growing medium, and hydroponic nutrient solution.
- Choose a food-grade plastic or ceramic container with adequate space, drainage holes, and a tight-fitting lid.
- Prepare the growing medium by rinsing and sterilizing it, then fill the container uniformly for even root growth.
- Assemble the wick system by threading pre-soaked wicking material through drilled holes in the container, ensuring it contacts the nutrient solution.
Gather Your Materials
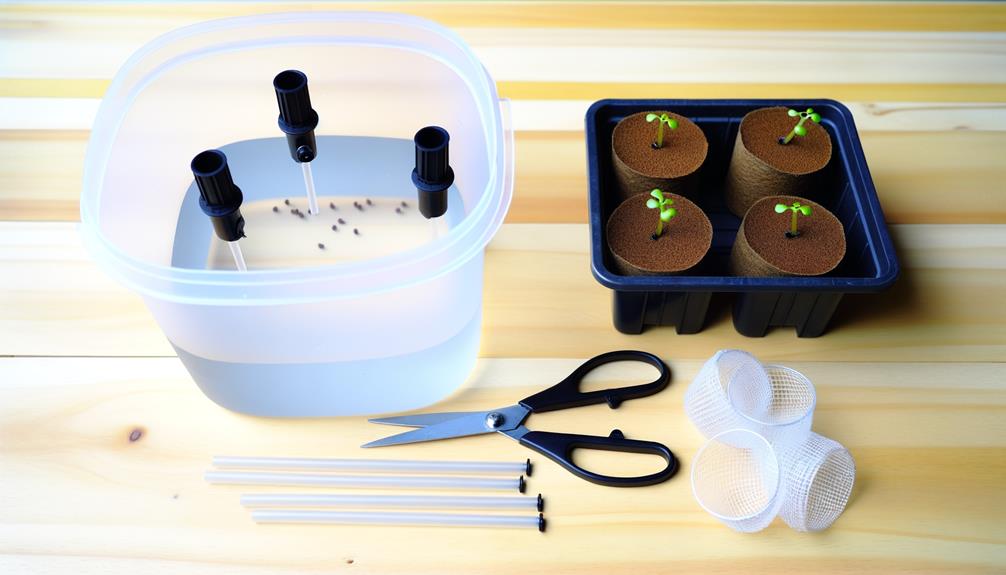
To build an effective wick hydroponic system, you will need to gather several essential materials, including a suitable container, wicking material, growing medium, nutrient solution, and appropriate plants.
The wicking material, often nylon rope or cotton, acts as a conduit for transferring nutrients from the solution to the plants.
Opt for a growing medium such as perlite or vermiculite, which provides excellent aeration and moisture retention.
The nutrient solution must be hydroponic-specific to guarantee ideal delivery of essential minerals.
Selecting plants that thrive in hydroponic systems, such as lettuce, herbs, and certain flowering varieties, guarantees successful growth.
Each component plays a critical role in maintaining the system's efficiency and fostering a thriving, innovative hydroponic environment.
Choose the Right Container
Selecting an appropriate container is essential for the functionality and efficiency of a wick hydroponic system, as it must provide adequate space, support, and drainage for ideal plant growth.
Opt for a non-reactive, durable material such as food-grade plastic or ceramic to prevent chemical leaching. The container's depth should accommodate root expansion while maintaining a stable water reservoir.
Make certain it has a tight-fitting lid to minimize evaporation and contamination. Drill precise holes for the wicks, typically nylon or cotton rope, ensuring they reach the nutrient solution efficiently.
Adequate drainage holes are also vital to prevent waterlogging and guarantee oxygenation. By meticulously selecting the right container, you lay the foundation for a thriving hydroponic system.
Prepare the Growing Medium
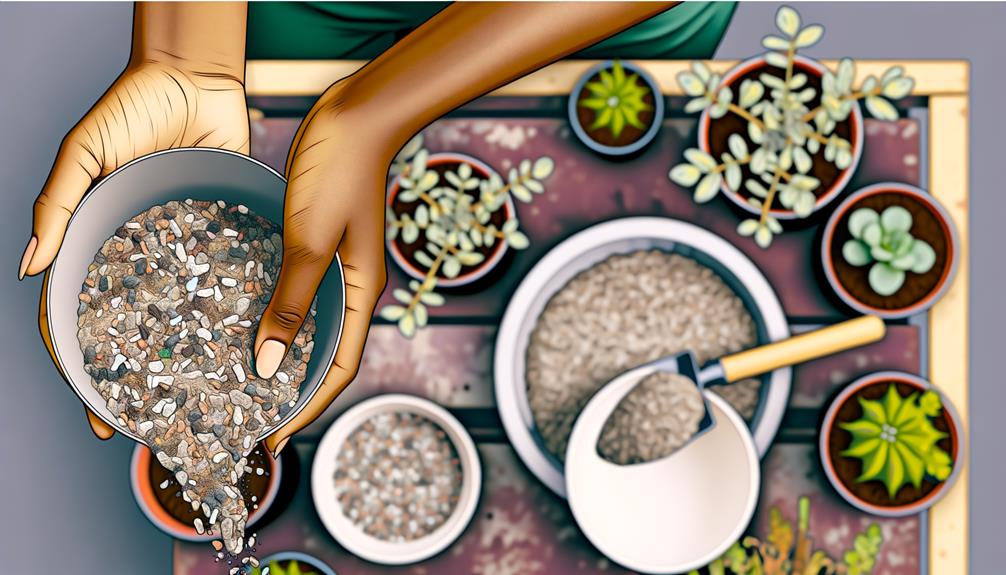
The growing medium, an essential component of the wick hydroponic system, must be carefully chosen and prepared to guarantee excellent nutrient delivery and root support.
Select a medium with high capillary action, such as perlite, vermiculite, or coco coir, making certain it can effectively wick nutrients from the reservoir.
Rinse the medium thoroughly to remove any dust or impurities that could impede nutrient absorption.
Sterilize using a dilute hydrogen peroxide solution to eliminate potential pathogens.
Fill the container uniformly, maintaining a consistent density to promote even root growth.
This meticulous preparation guarantees the medium provides superior aeration, drainage, and nutrient distribution, fostering robust plant development and maximizing efficiency within the hydroponic system.
Create the Wick System
To establish an efficient wick system, begin by selecting appropriate wicking material such as nylon or cotton, which guarantees ideal capillary action.
Next, assemble the reservoir and container, confirming they are correctly positioned to facilitate nutrient uptake.
Select Proper Wicking Material
Choosing the proper wicking material is critical for guaranteeing efficient nutrient and water delivery in a wick hydroponic system.
Ideal wicking materials include nylon rope, polyester rope, and cotton strips, each offering unique advantages. Nylon and polyester ropes are highly durable, resistant to rot, and maintain consistent wicking performance.
Cotton strips, while biodegradable, can degrade over time but provide excellent capillary action initially. Confirm the wicking material has a diameter of at least 1 cm to facilitate sufficient nutrient uptake.
Pre-soak the wicks in water to activate their capillary properties before installation.
Assemble Reservoir and Container
With the ideal wicking material selected, proceed to assemble the reservoir and container to establish the wick hydroponic system infrastructure.
Begin by selecting a non-reactive, watertight reservoir—preferably opaque to inhibit algae growth. Position the container above the reservoir, guaranteeing it allows for maximum wick placement.
Drill holes in the bottom of the container, sized precisely for the wicks. Thread the wicks through these holes, ensuring they extend both into the reservoir and the container's growing medium.
Secure the wicks to maintain consistent contact with the nutrient solution. Ensure the container is stable and properly aligned over the reservoir.
This configuration facilitates capillary action, enabling the wicks to transport water and nutrients efficiently to the plants, enhancing growth conditions.
Add Nutrient Solution
Once the reservoir and container are secured, carefully prepare the nutrient solution by diluting the appropriate hydroponic nutrients in water according to the manufacturer's specifications. Confirm the water pH is adjusted to an ideal range (typically 5.5-6.5) to facilitate nutrient uptake. Next, pour the nutrient solution into the reservoir, confirming it remains below the wick insertion point to prevent over-saturation.
| Step | Description |
|---|---|
| 1. Measure | Quantify the hydroponic nutrients as per guidelines. |
| 2. Dilute | Mix nutrients in water, confirming thorough dissolution. |
| 3. Adjust pH | Test and modify pH levels to 5.5-6.5 using pH adjusters. |
| 4. Fill | Add the prepared solution to the reservoir below wick level. |
| 5. Monitor | Regularly check nutrient concentration and pH stability. |
These steps confirm a balanced nutrient environment for ideal plant growth.
Set Up the Reservoir
A critical step in establishing an efficient wick hydroponic system is to meticulously prepare your reservoir, guaranteeing it is properly cleaned and sanitized to prevent contamination.
Begin by selecting a food-grade container to avoid chemical leaching. Thoroughly clean the reservoir using a mild bleach solution (1:10 ratio of bleach to water), then rinse it multiple times with clean water to eliminate any residual bleach.
Next, position the reservoir in a location where it can maintain a stable temperature, ideally between 65-75°F, to optimize nutrient uptake. Ensure the reservoir has an airtight lid to minimize evaporation and contamination.
Assemble the System
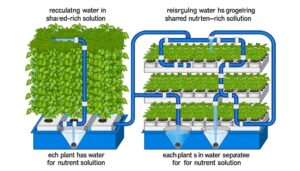
To assemble the wick hydroponic system, begin by gathering all necessary materials, including the reservoir, wicking medium, and grow container. Ensure the wicking material extends from the grow container into the reservoir, allowing water and nutrients to reach the plant roots. Position the plants in the grow container with a suitable growing medium to support their development. Similar to the kratky hydroponic system steps, this passive method requires no pumps, relying on capillary action to deliver nutrients.
Next, position the wicking system by threading the wicks through the holes in the grow container and ensuring they reach the nutrient solution in the reservoir.
Gather Necessary Materials
The initial step in assembling a wick hydroponic system necessitates procuring a detailed list of materials, including a suitable container, wicking material, growing medium, nutrient solution, and net pots. Selecting a container with appropriate dimensions guarantees adequate space for root development. Opt for a wicking material, such as nylon rope or cotton, that efficiently transports nutrient solutions. The growing medium, such as coconut coir or perlite, must support plant roots while allowing ideal moisture retention. High-quality nutrient solutions tailored to hydroponics guarantee plant health and growth. Net pots facilitate easy transfer and support of seedlings.
| Material | Example | Purpose |
|---|---|---|
| Container | Plastic tote | Root environment |
| Wicking Material | Nylon rope | Nutrient transport |
| Growing Medium | Coconut coir | Root support and moisture |
| Nutrient Solution | Hydroponic nutrient mix | Plant nutrition |
These materials collectively form the foundation of an efficient wick hydroponic system.
Set Up Wicking System
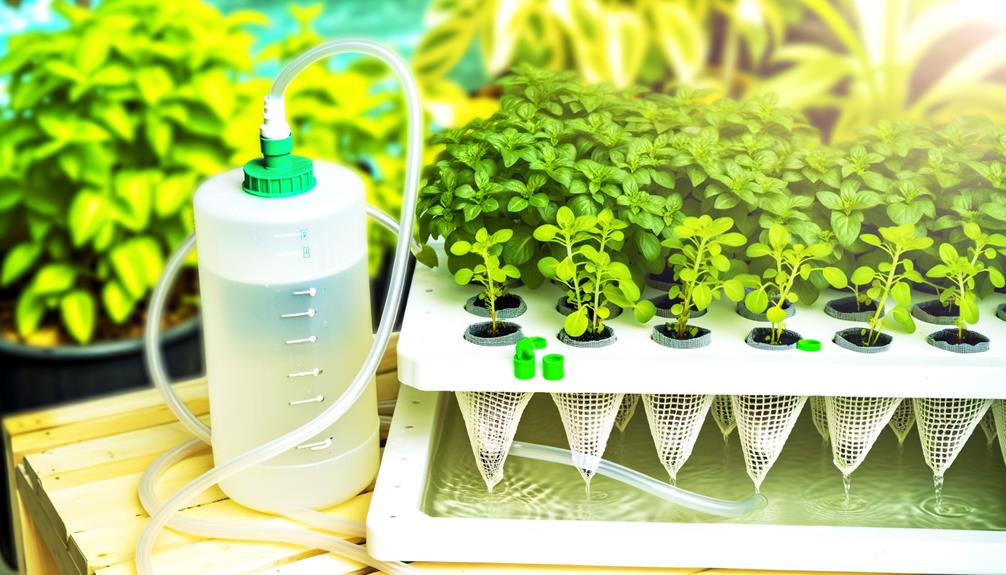
Initiating the assembly, begin by inserting the wicking material through the bottom of the net pots, ensuring they extend into the nutrient solution reservoir below. This step is essential for capillary action to efficiently transport nutrients to the plants.
Next, position the net pots securely in the designated holes on the top of the container. Verify that each wick is fully submerged in the nutrient solution to maintain consistent moisture levels.
Finally, fill the net pots with a suitable growing medium, such as perlite or coco coir, to support plant roots.
- Insert Wicking Material: Thread wicks through net pots, extending into the nutrient reservoir.
- Secure Net Pots: Position pots in container holes, ensuring stable placement.
- Add Growing Medium: Fill pots with perlite or coco coir, facilitating root growth.
Add Nutrient Solution
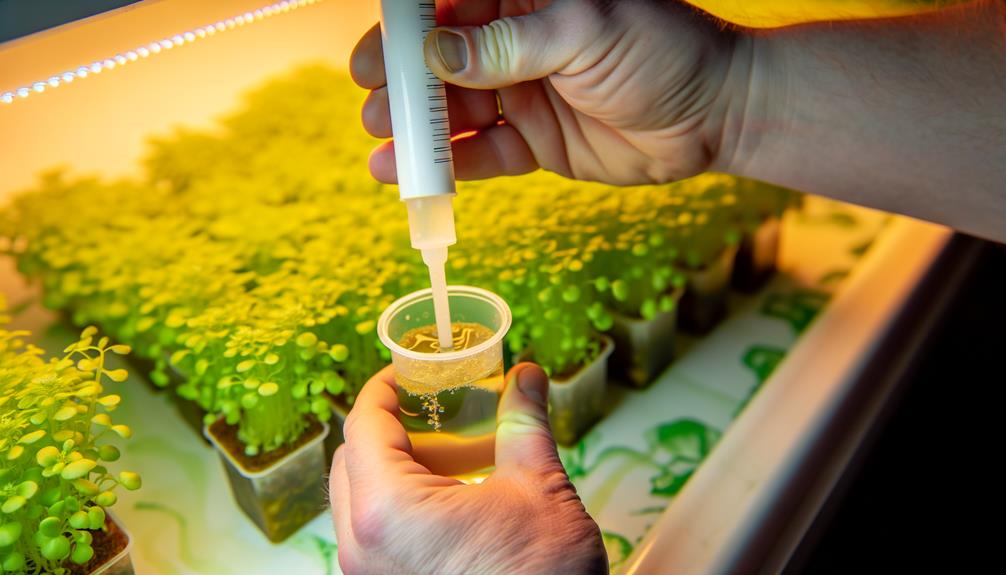
Carefully introduce the nutrient solution into the reservoir, ensuring it is properly mixed according to the manufacturer's guidelines for ideal plant growth.
Begin by measuring the precise amount of concentrated nutrient formula required for your specific plant species.
Dilute this concentrate in water, maintaining the recommended parts per million (ppm) for peak nutrient absorption.
Utilize a pH meter to adjust the solution's pH level to between 5.5 and 6.5, ensuring nutrient availability.
Stir the mixture thoroughly to achieve homogeneity, preventing sedimentation that could obstruct capillary action in the wicking system.
Regularly monitor the electrical conductivity (EC) to verify nutrient concentration consistency.
This meticulous preparation will foster an efficient nutrient delivery mechanism, vital for thriving hydroponic cultivation.
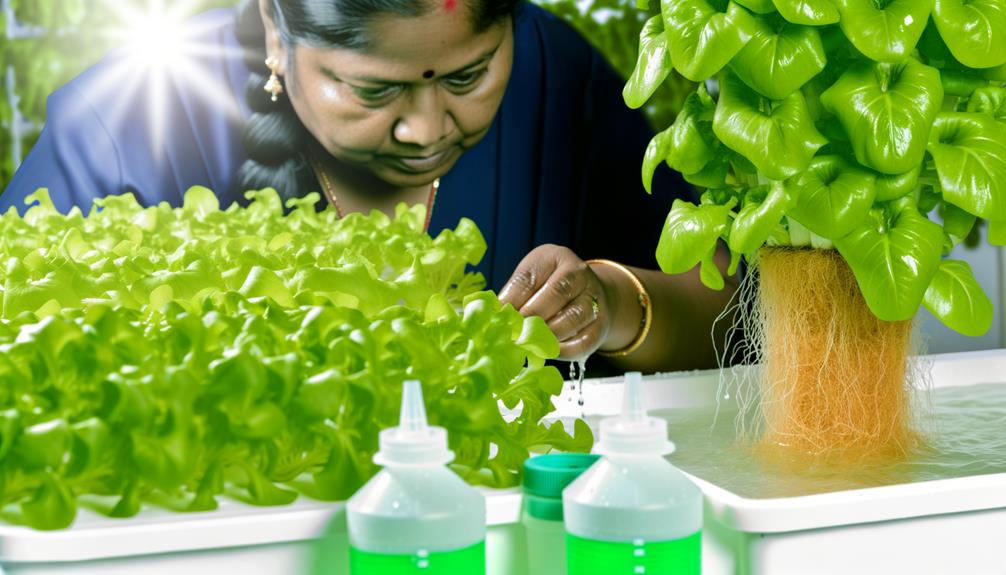
Plant Your Seeds
With the nutrient solution prepared, proceed to plant your seeds by embedding them in a sterile growing medium, such as rockwool or coco coir, making certain they are appropriately spaced and positioned for ideal germination. This method promotes optimal root aeration and nutrient uptake.
Follow these steps for precise execution:
- Prepare the medium: Saturate the rockwool or coco coir with pH-balanced water to create an ideal environment for seed germination.
- Plant the seeds: Insert one or two seeds into small, pre-made holes in the medium, approximately 0.5 inches deep.
- Position for growth: Place the seeded medium in the hydroponic system, making certain the wicks maintain consistent contact with the nutrient solution for continuous moisture delivery.
These steps guarantee efficient seed germination and robust plant development.
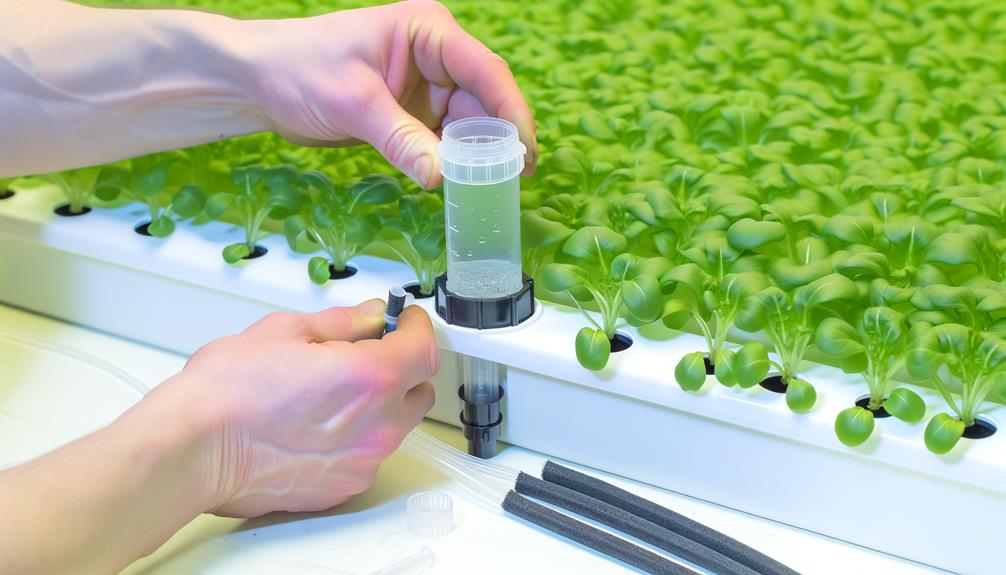
Monitor Water Levels
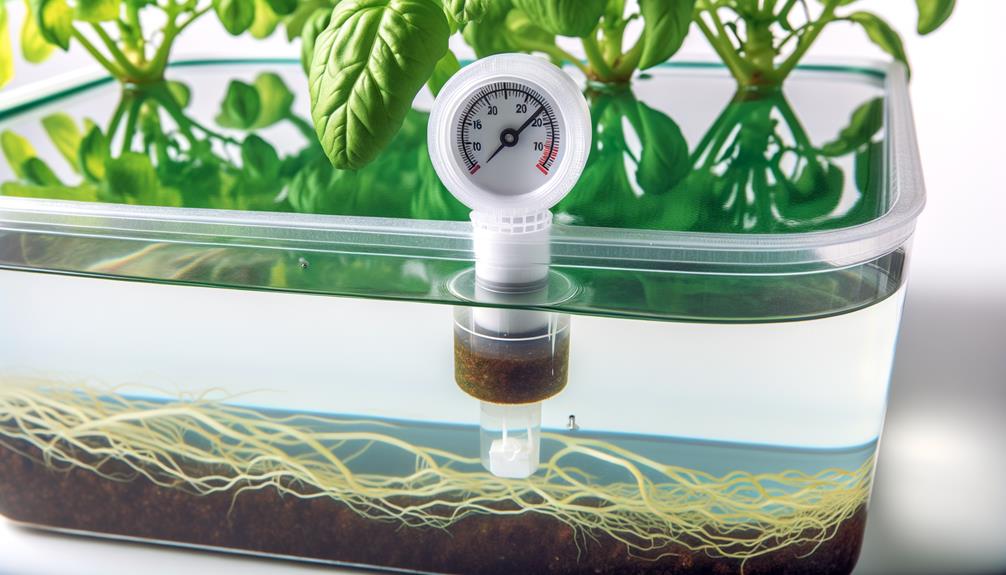
Monitoring water levels is essential for the ideal functioning of your wick hydroponic system.
Make certain that you check the water reservoir daily, refilling it as needed to maintain consistent hydration.
Employ water indicators to provide real-time data on reservoir levels, facilitating precise management and preventing plant stress.
Check Daily Levels
Consistently check the water reservoir daily to confirm ideal levels are maintained, as fluctuations can impact nutrient delivery and plant health.
Employ a precise method to monitor the water level, confirming the reservoir is neither overfilled nor underfilled.
Utilize the following steps to maintain optimum conditions effectively:
- Utilize a calibrated water level indicator: This tool provides accurate readings and helps in maintaining consistent nutrient solution levels.
- Record daily measurements: Logging water levels can help identify patterns or issues, facilitating preemptive adjustments.
- Regularly inspect wicking material: Confirm that the wicking material remains fully saturated and is efficiently drawing water from the reservoir.
Refill When Low
Regularly assess the water reservoir and promptly refill it when levels fall below the recommended threshold to guarantee uninterrupted nutrient supply and optimal plant growth.
Utilize a calibrated measuring tool to monitor the nutrient solution's volume accurately. Verify the solution's pH and electrical conductivity (EC) are within suitable ranges before replenishing.
Replenishment should involve a water-nutrient mix that mirrors the original formulation to maintain consistent nutrient concentrations. Employ a sterile container to avoid contamination during the refilling process.
Frequent monitoring and timely refills mitigate the risk of wick desiccation, which can disrupt capillary action and impair nutrient uptake. This vigilance guarantees that the hydroponic system operates at peak efficiency, fostering a thriving environment for your plants.
Use Water Indicators
Employ water indicators to accurately gauge the water levels in your wick hydroponic system, making certain they remain within ideal parameters for plant health. Precision in water level monitoring is paramount; it guarantees the wicks function effectively, delivering nutrients efficiently. Utilize advanced float-based or electronic water level sensors for real-time data.
- Installation: Securely attach the water indicator to the reservoir, making certain it is both visible and accessible.
- Calibration: Calibrate the sensor according to manufacturer specifications to guarantee accurate readings.
- Maintenance: Regularly inspect and clean the indicator to prevent debris buildup, which could compromise accuracy.
Manage Light and Temperature
To enhance plant growth in a wick hydroponic system, precise control of light intensity and temperature is essential.
Utilize full-spectrum LED grow lights to simulate natural sunlight, guaranteeing plants receive 14-16 hours of light daily. Position lights 6-12 inches above the canopy to balance light intensity and prevent phototoxicity.
Monitoring temperature is equally critical; maintain ambient air temperatures between 65-75°F (18-24°C) for peak metabolic activity. Employ thermostatically controlled fans or heaters to stabilize temperatures, preventing thermal stress.
Additionally, verify adequate airflow to mitigate humidity levels and promote gas exchange.
Maintain Your System
Ascertaining the longevity and efficiency of your wick hydroponic system requires meticulous maintenance practices to safeguard ideal plant health and system functionality. To achieve optimum performance, consider the following:
- Nutrient Solution Management: Regularly monitor and adjust the pH and nutrient concentration of the solution. Aim for a pH range of 5.5 to 6.5 to ascertain nutrient uptake efficiency.
- Wick Inspection: Periodically check the wicks for blockages or wear. Replace any compromised wicks to maintain consistent nutrient flow.
- Reservoir Cleanliness: Clean the nutrient reservoir every two weeks to prevent the buildup of algae and pathogens. Use a mild bleach solution (1:10 ratio) for sterilization, ascertaining thorough rinsing before refilling.
These steps will help maintain a robust and productive hydroponic environment.
Conclusion
The establishment of a wick hydroponic system necessitates meticulous preparation and adherence to specific protocols.
By selecting appropriate containers, preparing an ideal growing medium, and constructing an efficient wick system, one guarantees the seamless delivery of nutrients.
Proper reservoir setup, vigilant monitoring of water levels, and precise management of light and temperature further enhance plant growth.
Consistent maintenance ensures the longevity and efficacy of the system, fostering an environment where botanical specimens can thrive unimpeded.