10 Steps to Make Your Own Hydroponic Grow Tent
To construct a hydroponic grow tent, start by selecting highly reflective Mylar sheeting for ideal light distribution and durable, waterproof PVC or polyethylene fabric for the exterior. Build a stable frame using corrosion-resistant galvanized steel or PVC pipes, secured with appropriate fittings.
Accurately measure and attach the reflective material inside the tent. Install an exhaust fan near the top, an intake fan at the bottom, and oscillating fans for air circulation.
Choose suitable grow lights, manage light cycles with programmable timers, and set up a precise hydroponic system with a reservoir, air pump, and automated nutrient delivery. Learn detailed steps here.
Key Takeaways
- Use durable, waterproof materials like PVC for the exterior to ensure longevity and environmental control.
- Assemble a sturdy frame with corrosion-resistant materials such as galvanized steel or PVC pipes.
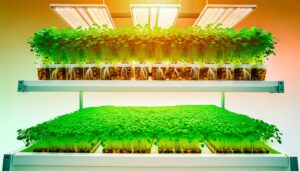
- Install highly reflective Mylar sheeting inside the tent to optimize light distribution.
- Set up a ventilation system with exhaust, intake, and oscillating fans to maintain airflow and temperature.
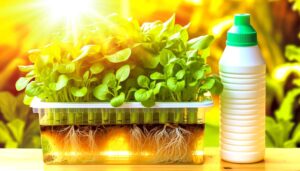
Choosing Your Materials
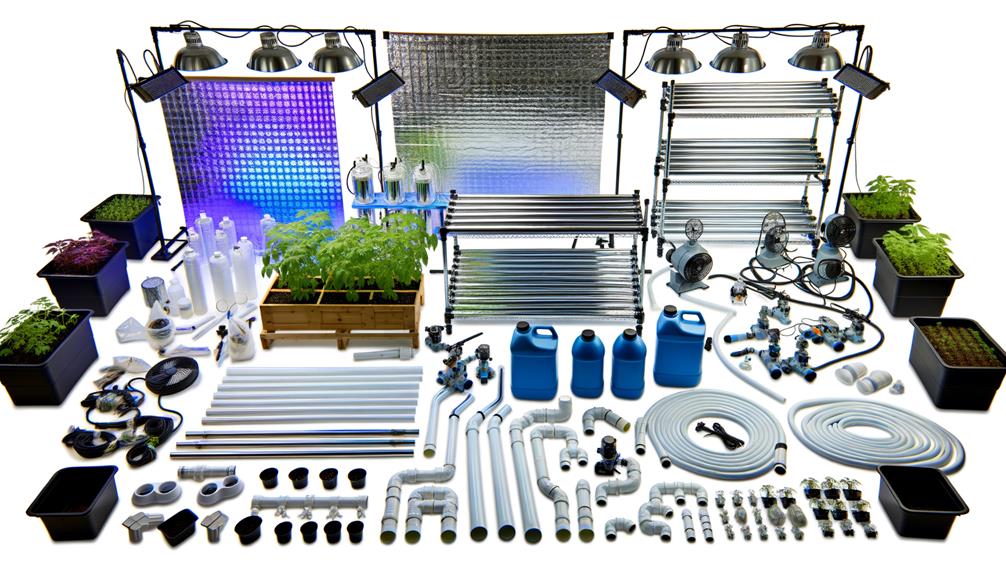
Selecting the appropriate materials for constructing a hydroponic grow tent is essential to guarantee peak plant growth and system efficiency.
Utilize highly reflective Mylar sheeting to maximize light distribution and reduce energy consumption.
Opt for a durable, waterproof PVC or polyethylene fabric for the exterior to assure longevity and environmental control.
Employ UV-resistant, non-toxic materials to prevent chemical leaching and degradation from prolonged light exposure.
Use heavy-duty zippers and reinforced stitching for structural integrity and ease of access.
Incorporate breathable mesh or ventilation ports to maintain ideal airflow and temperature regulation.
Selecting robust materials enhances the tent's ability to support advanced hydroponic systems, assuring a stable environment conducive to rapid plant growth and yield maximization.
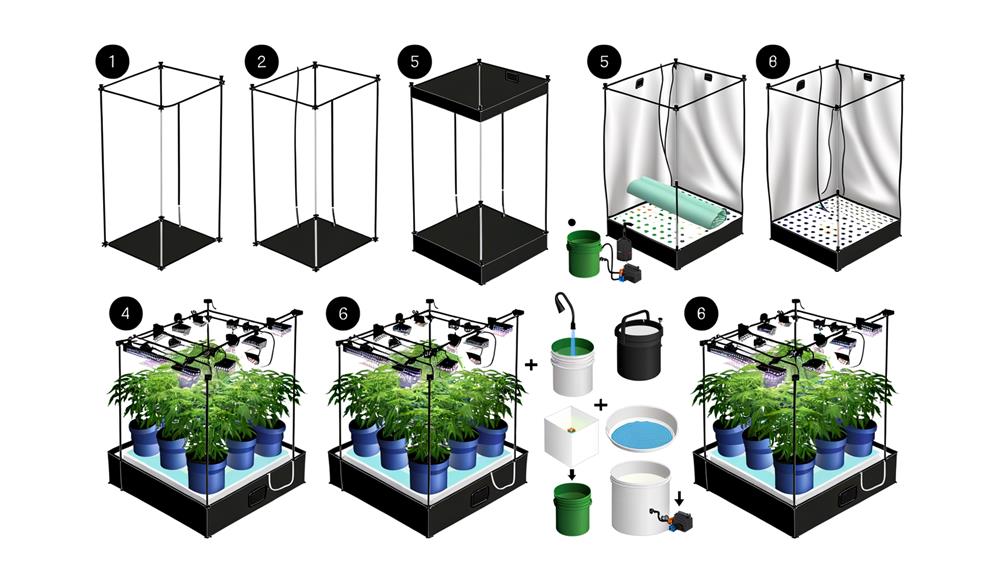
Building the Tent Frame
Constructing a robust and stable frame is essential for supporting the hydroponic grow tent and guaranteeing the system's longevity and efficiency.
Begin by selecting corrosion-resistant materials such as galvanized steel or PVC pipes, given their durability and structural integrity. Cut the pipes to the desired dimensions using a pipe cutter, guaranteeing precision.
Assemble the frame by connecting the pipes with appropriate fittings, such as T-joints and elbow connectors, to form the base, vertical supports, and top frame. Confirm all connections are secure using screws or adhesive, depending on material compatibility.
Installing Reflective Material
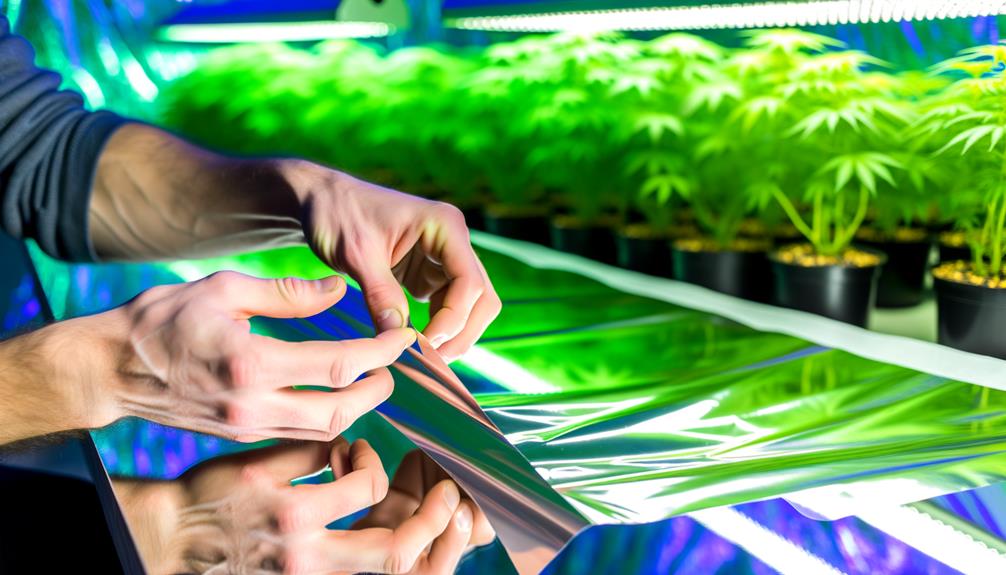
To guarantee maximum light efficiency within the hydroponic grow tent, carefully measure and cut reflective material, such as Mylar or reflective sheeting, to fit the interior surfaces. Precision in measurement is critical to ascertain peak photon distribution. Affix the material using industrial-grade adhesive or heavy-duty Velcro, making sure no air pockets or wrinkles, which could diminish light reflectivity.
| Material | Reflectivity | Durability |
|---|---|---|
| Mylar | 90-95% | High |
| Reflective Sheeting | 85-90% | Moderate |
| Aluminum Foil | 70-75% | Low |
This table illustrates the comparative efficacy and longevity of various reflective materials. Select the one that balances reflectivity and durability according to your grow tent's specific requirements. Accurate installation fosters an environment conducive to plant growth, leveraging maximum light absorption.
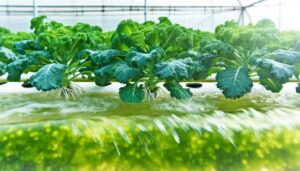
Setting Up Ventilation
Invariably, establishing an effective ventilation system within a hydroponic grow tent is paramount to guaranteeing ideal air exchange, temperature control, and humidity regulation. Proper ventilation mitigates the risk of mold, pests, and heat stress.
To set up an efficient system, follow these steps:
- Install an exhaust fan: Position high to expel warm, humid air. Verify its capacity matches tent volume, measured in cubic feet per minute (CFM).
- Set up an intake fan: Place low to introduce fresh air. This should be slightly less powerful than the exhaust fan to create negative pressure, enhancing airflow.
- Integrate oscillating fans: These promote uniform air circulation, preventing hotspots and guaranteeing consistent CO2 distribution for peak plant growth.
Implementing these components will greatly enhance your grow tent's environment.
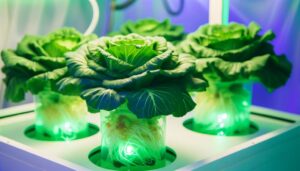
Adding Grow Lights
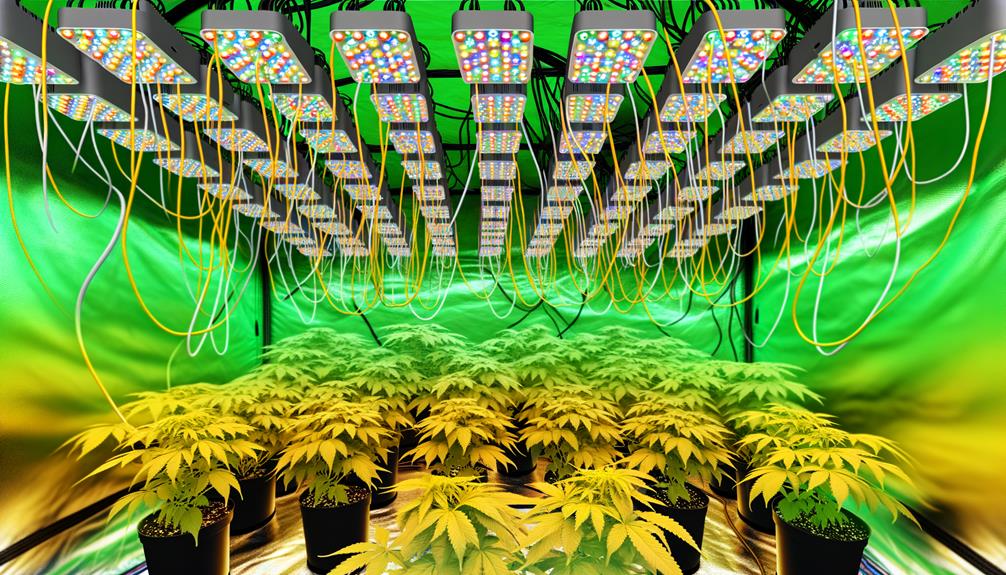
When incorporating grow lights into your hydroponic grow tent, selecting the appropriate light types such as LED, HID, or fluorescent is critical for ideal plant growth.
Precise light placement guarantees uniform light distribution and prevents photoinhibition.
Additionally, managing the light cycle, including photoperiod and intensity, is essential for synchronizing with the plant's growth phases.
Choosing Light Types
Choosing the suitable grow lights for your hydroponic grow tent is vital to guarantee optimal plant growth and development. The selection of light types involves understanding the nuances of light spectrum, intensity, and energy efficiency.
Here are three prominent grow light options to evaluate:
- LED Grow Lights: Known for their energy efficiency and customizable light spectra, LEDs provide precise control over the photosynthetically active radiation (PAR) range, essential for various plant growth stages.
- High-Intensity Discharge (HID) Lights: These include Metal Halide (MH) and High-Pressure Sodium (HPS) lamps. MH lights are ideal for vegetative growth, while HPS lights are best for flowering stages.
- Fluorescent Lights: Including T5 and CFL types, these lights are cost-effective and emit low heat, making them suitable for seedlings and young plants.
Choosing the appropriate light type will greatly impact your hydroponic success.
Optimal Light Placement
To guarantee uniform light distribution and maximize photosynthetic efficiency, position grow lights at an ideal distance above the plant canopy, typically ranging from 12 to 24 inches depending on the light type and plant growth stage.
High-Intensity Discharge (HID) lights require a greater distance due to their heat output, whereas Light Emitting Diodes (LEDs) can be placed closer.
Employ adjustable light hangers to facilitate easy modifications as plants grow.
Equidistant spacing between lights ensures even coverage, mitigating hotspots and shadowed areas.
Utilize a PAR (Photosynthetically Active Radiation) meter to measure light intensity and ascertain optimal PPFD (Photosynthetic Photon Flux Density) levels.
This precision fosters robust growth, enhancing both yield and quality within the controlled environment of the hydroponic grow tent.
Light Cycle Management
Effective light cycle management, essential for plant growth and development, involves meticulously timing the addition of grow lights to simulate natural daylight patterns and enhance photosynthesis. Proper light cycle management includes the following steps:
- Photoperiod Regulation: Utilize programmable timers to establish specific light and dark periods, ensuring plants receive 18 hours of light during vegetative growth and 12 hours during flowering stages.
- Light Spectrum: Employ full-spectrum LED grow lights that closely mimic the natural sunlight spectrum, providing essential wavelengths required for chlorophyll synthesis and photomorphogenesis.
- Intensity Adjustment: Use dimmable grow lights to adjust the Photosynthetic Photon Flux Density (PPFD) to match the developmental stage of the plants, ensuring ideal light penetration and energy absorption without causing photoinhibition or photodamage.
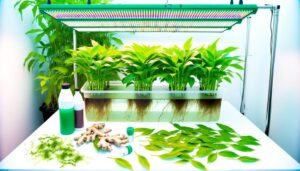
Establishing the Hydroponic System
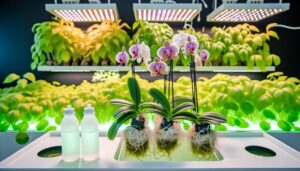
Begin by configuring the reservoir and nutrient delivery system, guaranteeing precise control over water pH and nutrient concentration levels.
Utilize a high-quality reservoir, preferably made from food-grade plastic, to store the nutrient solution. Integrate an air pump and air stones to oxygenate the water.
Install a submersible water pump to facilitate nutrient delivery through drip emitters or a flood-and-drain system. Employ a digital pH meter and EC (electrical conductivity) meter to monitor and adjust pH and nutrient concentration, respectively.
Secure tubing and fittings to prevent leaks and guarantee efficient nutrient flow. Opt for automated timers to regulate irrigation cycles, thereby optimizing plant growth while minimizing manual intervention.
Implement a reliable drainage system to prevent waterlogging and root rot.
Conclusion
In summary, constructing a hydroponic grow tent necessitates meticulous selection of materials, precise assembly of the frame, strategic installation of reflective surfaces, and careful integration of ventilation and lighting systems. These elements work together to create an optimized environment for plant growth, maximizing efficiency and yield. When considering hydroponic setups, you might ask, do you need a grow tent to achieve the best results? While not always essential, a well-designed grow tent can significantly enhance control over temperature, humidity, and light exposure.
Ironically, the complexities of establishing a hydroponic system underscore the simplicity of nature's own growth processes.
Such endeavors, while rooted in advanced scientific principles and technical sophistication, ultimately aim to replicate the effortless elegance of natural plant growth—an endeavor that juxtaposes human ingenuity with nature's inherent simplicity.