7 Simple Steps to Make Your Own Hydroponic Window Farm
Creating a hydroponic window farm requires a structured approach. First, select a sun-facing window that receives six hours of direct sunlight daily, ensuring temperatures between 65°F and 75°F.
Utilize durable containers made from food-grade plastic and construct a vertical setup with materials like PVC pipes or wooden planks. Incorporate an oxygenation system and nutrient solution tailored to your chosen plants, such as leafy greens or herbs.
Regularly monitor and adjust the pH and nutrient levels. Plants such as lettuce or basil thrive well in this system.
To explore detailed setup instructions and maintenance tips, you may find the subsequent information insightful.
Key Takeaways
- Choose a location with at least six hours of direct sunlight and stable temperatures between 65°F and 75°F.
- Use food-grade, opaque containers with proper drainage and a minimum size of 1-2 gallons per plant.
- Select compact, fast-growing plants like lettuce, spinach, basil, and strawberries for limited space efficiency.
- Build a sturdy frame using PVC pipes or wooden planks, secured to the window frame, with properly spaced horizontal crossbars.
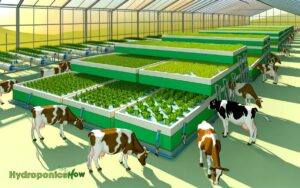
Understanding Hydroponics
Hydroponics, a method of growing plants without soil by using mineral nutrient solutions in an aqueous solvent, offers an efficient and innovative approach to indoor farming.
This technique facilitates precise control over nutrient delivery, allowing plants to absorb essential elements directly from the water. Key components include a reservoir for the nutrient solution, an inert medium for plant support (e.g., perlite or coconut coir), and a system for oxygenating the water.
The absence of soil minimizes pest issues and enhances space usage, making it ideal for urban environments. The hydroponic method enhances growth rates and yields by maintaining ideal pH and nutrient concentrations, vital for plant health.
This method, consequently, embodies a forward-thinking paradigm in sustainable agriculture.
Choosing the Right Location
Selecting a suitable location for your hydroponic window farm is essential for ensuring plant health and productivity.
Prioritize areas with ample sunlight accessibility, as most plants require a minimum of six hours of direct light daily.
Additionally, maintain a stable temperature range and enhance the available space to accommodate the system's components and plant growth.
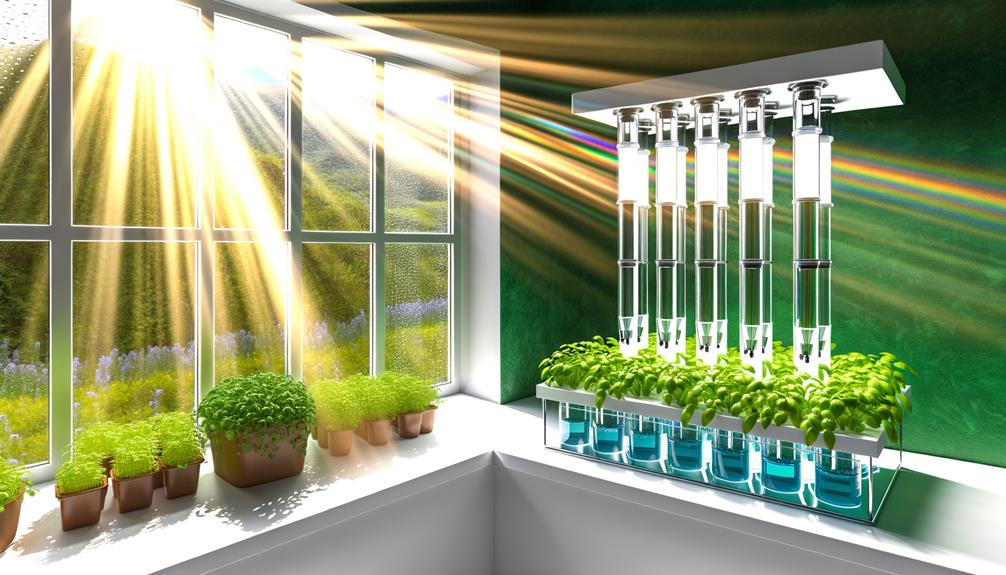
Sunlight Accessibility
To guarantee ideal growth for your hydroponic window farm, it's vital to pinpoint a location that receives ample natural sunlight throughout the day.
Select a south-facing window if you're in the Northern Hemisphere or a north-facing one in the Southern Hemisphere. This orientation maximizes exposure to direct sunlight, which is critical for photosynthesis.
Ensure the window is unobstructed by external elements like trees or buildings. For best results, aim for at least 6-8 hours of sunlight daily.
If natural light is insufficient, supplement with full-spectrum grow lights mimicking sunlight. Position plants to avoid shadowing each other, and regularly adjust their placement as they grow to maintain even light distribution.
This meticulous attention to sunlight accessibility will enhance plant health and yield.
Temperature Control
While ensuring adequate sunlight is fundamental, maintaining suitable temperature conditions is equally important for the success of your hydroponic window farm.
Ideal temperatures for most hydroponic plants range between 65°F and 75°F (18°C to 24°C). Choose a location that avoids extreme temperature fluctuations, such as drafts from windows or heat from radiators. Utilize a digital thermostat to monitor the ambient temperature closely.
When selecting your window, consider its exposure; south-facing windows typically offer stable warmth, while east or west-facing windows may provide varying conditions.
Employ insulating materials, like thermal curtains, to mitigate heat loss during colder months. For warmer climates, consider using fans or air conditioning to prevent overheating, thereby ensuring a stable, conducive environment for plant growth.
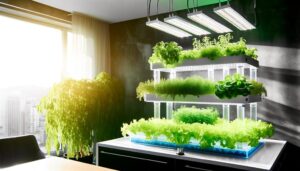
Space Optimization
Optimizing space for your hydroponic window farm requires careful consideration of light availability, structural stability, and ease of access for maintenance.
Choose a south-facing window to maximize natural light, which is critical for photosynthesis. Confirm the window structure can support the weight of the hydroponic system, including water and plants.
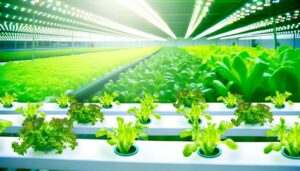
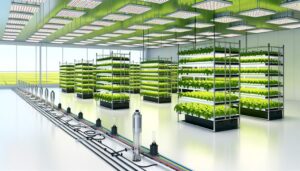
Use vertical space efficiently by installing tiered shelving or hanging systems to accommodate multiple plants without overcrowding. Position plants at varying heights to ensure each receives adequate light.
Additionally, leave sufficient room around the setup for routine maintenance tasks such as nutrient solution replenishment and plant inspection.
Gathering Essential Materials
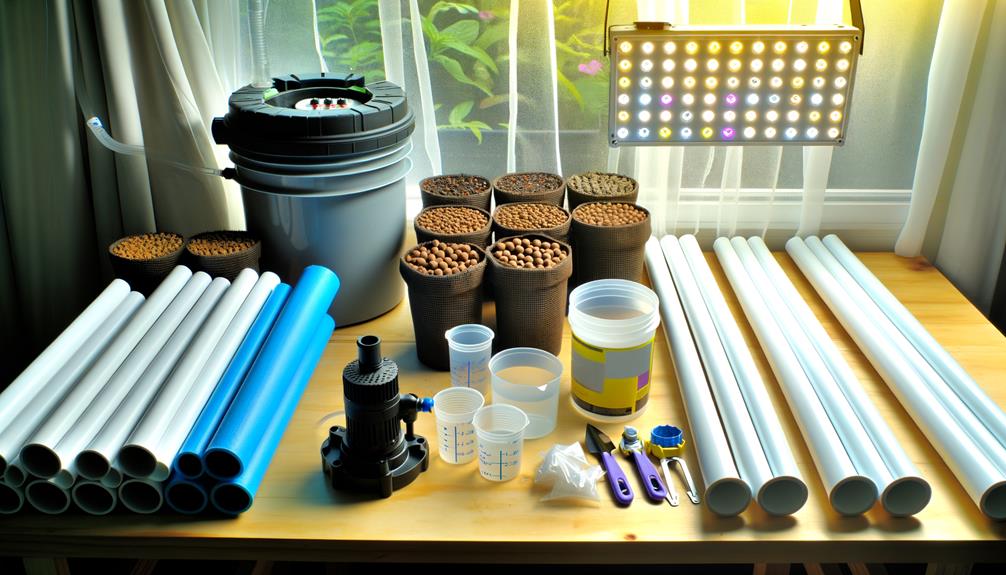
To establish a successful hydroponic window farm, it is essential to select high-quality containers that provide adequate support and drainage for plant roots.
Equally important is choosing nutrient solutions tailored to the specific needs of the plants you intend to grow.
Choosing Quality Containers
Selecting high-quality containers is vital for the success of your hydroponic window farm, as these containers will house the nutrient solutions and support the root systems of your plants. Opt for containers made of food-grade plastic to prevent harmful chemicals from leaching into the nutrient solution. Confirm they are opaque to inhibit algae growth, which can compete with your plants for nutrients.
| Specification | Description |
|---|---|
| Material | Food-grade plastic |
| Opacity | Opaque |
| Size | Minimum 1-2 gallons per plant |
| Drainage Holes | Important for oxygenation and flow |
Containers should also have proper drainage holes to facilitate oxygenation and nutrient flow, vital for healthy root development. Choose sizes that can accommodate the mature root system of your selected plants.
Selecting Nutrient Solutions
Understanding the precise nutrient requirements of your plants is essential for selecting the most effective hydroponic nutrient solutions.
Begin by identifying whether your plants are leafy greens, fruiting plants, or herbs, as each category demands specific nutrient ratios. For instance, leafy greens like lettuce benefit from higher nitrogen levels, while fruiting plants such as tomatoes require increased potassium and phosphorus.
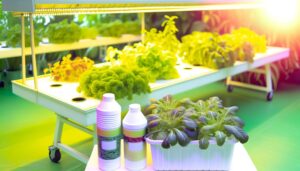
Opt for commercially available hydroponic nutrient solutions that are pre-mixed to guarantee balanced micro and macronutrient delivery. Ascertain the solution is water-soluble and designed explicitly for hydroponics to prevent clogging in the system.
Regularly monitor pH levels, maintaining them between 5.5 and 6.5, to optimize nutrient uptake. Utilize precise measuring tools to avoid over or under-fertilizing, guaranteeing robust plant growth.
Picking Suitable Plants
After verifying your nutrient solutions are correctly selected and balanced, the next step involves choosing plants that are well-suited for hydroponic window farming, taking into account their light, space, and growth requirements. Opt for compact, fast-growing species to maximize yield and efficiency in limited space. Here are ideal candidates:
| Plant Type | Light Requirement | Space Requirement |
|---|---|---|
| Lettuce | Moderate to High | Low |
| Basil | High | Moderate |
| Strawberries | High | Moderate |
| Spinach | Moderate to High | Low |
Lettuce and spinach thrive in moderate light and require minimal space, making them perfect for beginners. Basil and strawberries, requiring higher light, are ideal for south-facing windows. Choosing the right plants verifies robust growth and efficient use of your hydroponic system.
Building the Structure
To construct the framework of your hydroponic window farm, begin by selecting durable materials such as PVC pipes or wooden planks that can support the weight of the plant containers and nutrient solution.
Measure the dimensions of your window and cut the materials accordingly, ensuring precision for ideal fit.
Secure the vertical supports to the window frame using screws or brackets, ensuring they can withstand the load.
Attach horizontal crossbars at regular intervals, spaced to accommodate the height of your chosen plants.
Drill holes in the crossbars to insert plant containers, ensuring each hole is evenly spaced to allow adequate light and airflow.
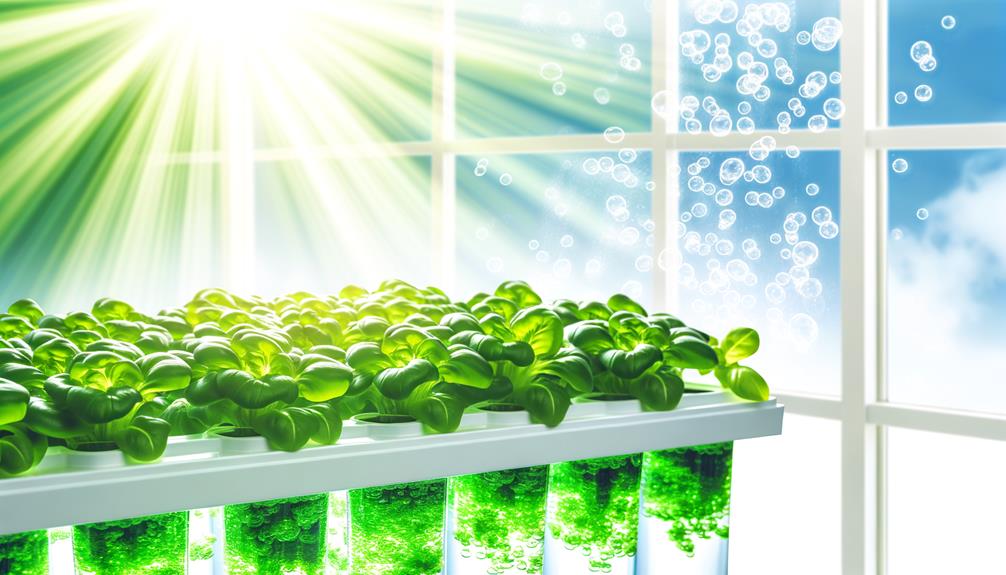
Setting Up the Hydroponic System
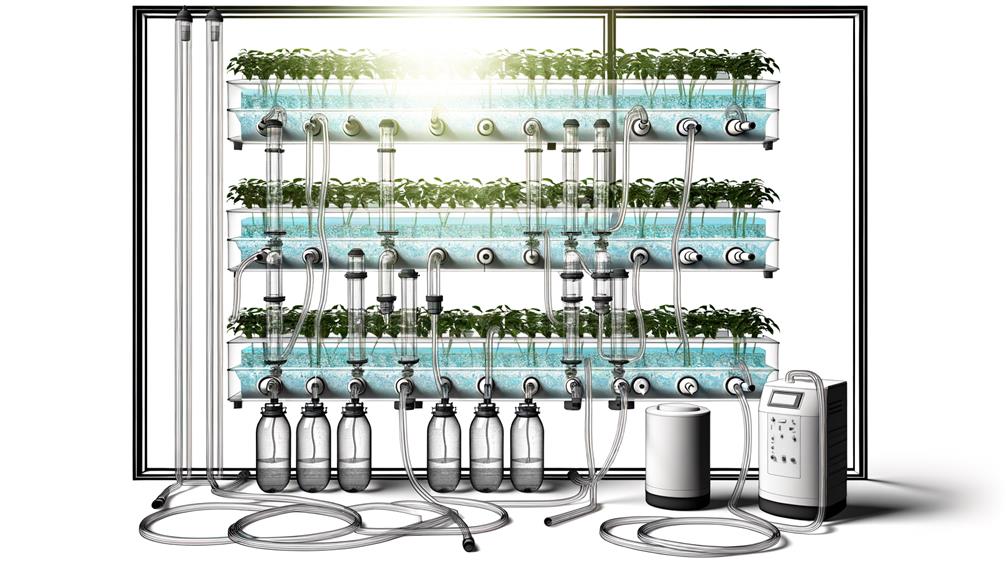
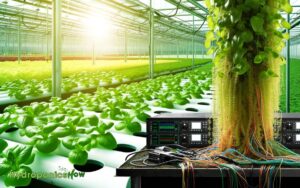
Initiate the hydroponic system setup by selecting an appropriate nutrient solution tailored to the specific requirements of the plants you intend to grow. Verify the solution contains essential macro and micronutrients such as nitrogen, phosphorus, potassium, calcium, magnesium, and trace elements. Next, install a reliable pump to circulate the nutrient solution, guaranteeing consistent delivery to all plants. Attach drip emitters or nutrient film technique channels to distribute the solution effectively. Ensure that the system maintains proper pH levels and regularly monitor electrical conductivity to optimize nutrient absorption. Additionally, provide adequate lighting and ventilation to support healthy plant growth. If you prefer a customizable approach, you can build your own hydroponics kit to suit your specific space and plant needs.
| Component | Purpose | Recommendations |
|---|---|---|
| Nutrient Solution | Provides essential nutrients | Tailored to plant species |
| Pump | Circulates nutrient solution | Submersible, adjustable flow |
| Distribution System | Delivers nutrients to plant roots | Drip emitters or NFT channels |
Position the reservoir to allow easy monitoring and refilling, verifying a stable pH level between 5.5 and 6.5.
Planting Your Crops
Begin planting your crops by carefully selecting seedlings or seeds that are well-suited to hydroponic growth, making certain they are disease-free and robust. Opt for plants like lettuce, spinach, basil, and strawberries, which thrive in hydroponic systems.
Gently rinse soil from the roots of seedlings and place them in net cups filled with a sterile growing medium such as rock wool or clay pellets. Make certain that the roots have direct contact with the nutrient solution.
If starting from seeds, sow them directly into the growing medium and maintain ideal germination conditions, such as humidity and temperature.
Position the net cups in your hydroponic system, making certain they receive adequate light, preferably from LED grow lights or natural sunlight.
Maintaining Your Window Farm
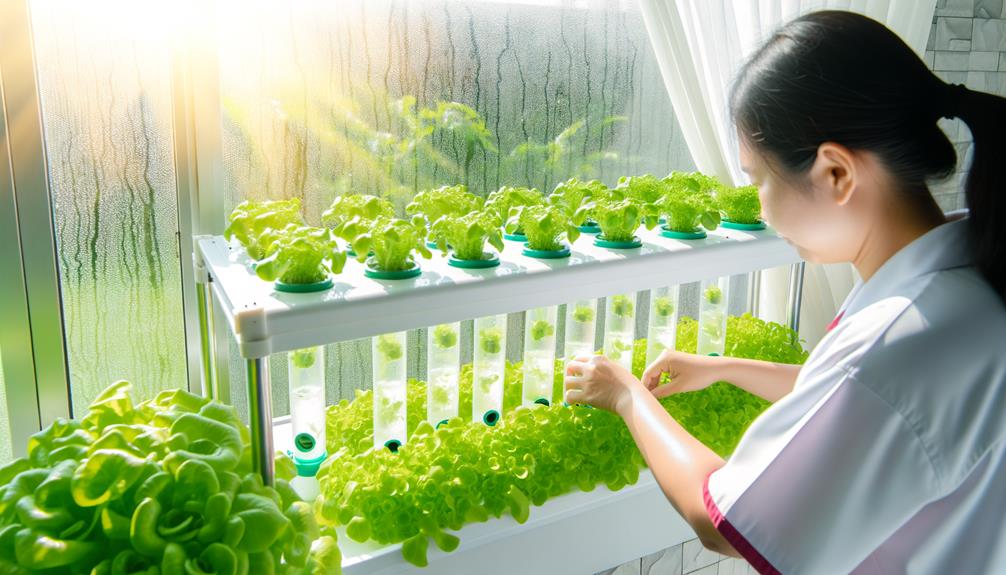
Regular monitoring and adjusting of the nutrient solution's pH and electrical conductivity (EC) are essential to guarantee excellent plant health and growth.
Aim to keep the pH between 5.5 and 6.5 for most crops, ensuring nutrient availability. Utilize a digital pH meter for precise readings.
The EC should be maintained based on plant-specific needs; for instance, leafy greens thrive at 1.2-1.6 mS/cm.
Regularly inspect the roots for signs of disease or nutrient imbalance, such as discoloration or stunted growth.
Ensure ideal light conditions by adjusting the positioning of your window farm to maximize natural light exposure.
Additionally, periodically clean the system to prevent algae buildup and blockages, ensuring a seamless nutrient flow to your plants.
Conclusion
A hydroponic window farm offers a sustainable and efficient method for urban gardening.
By utilizing vertical space and hydroponic techniques, it is possible to grow a variety of crops indoors.
Notably, hydroponic systems can use up to 90% less water compared to traditional soil-based gardening. This significant reduction in water usage highlights the environmental benefits of hydroponics.
Proper maintenance and attention to plant-specific needs guarantee a productive and thriving window farm.