7 Steps to Set Up a Hydroponic Drip System
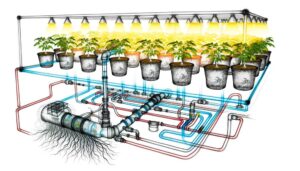
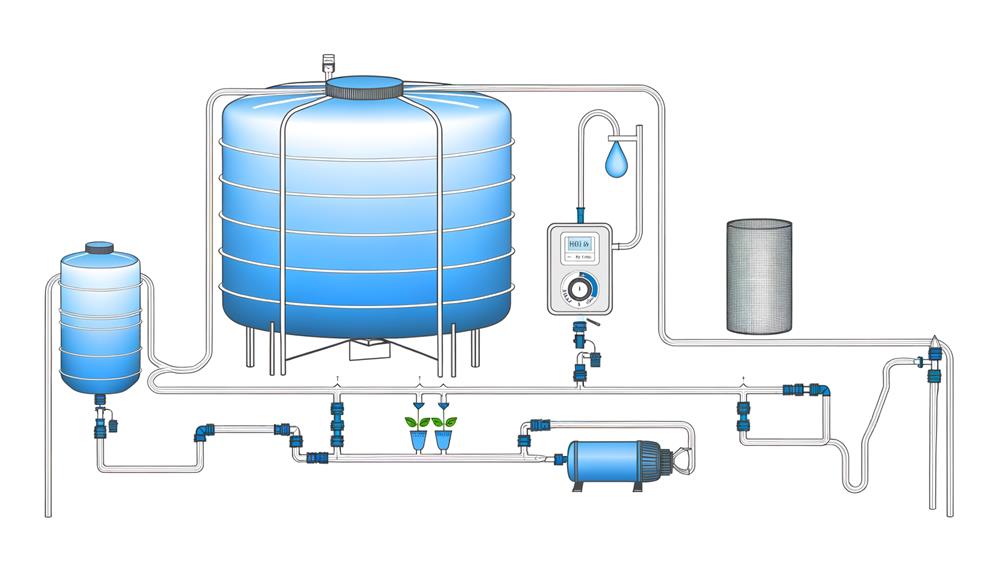
Setting up a hydroponic drip system requires assembling key components: a non-reactive reservoir, submersible pump, food-grade tubing, calibrated drip emitters, and suitable growing medium. Choose a location with ample light (12-16 hours daily), controlled temperature (65-75°F), and good ventilation.
Secure the pump at the reservoir's bottom, attach the main irrigation line, and automate with a timer. Position drip emitters for uniform distribution, and guarantee proper water flow.
Pre-soak the chosen growing medium in a pH-balanced solution. Plant seeds or seedlings with adequate spacing and maintain system integrity by regularly monitoring pH, EC, and water levels.
Enhance your system's operation by adhering to these detailed steps.
Key Takeaways
- Gather essential materials including a reservoir, pump, tubing, drip emitters, growing medium, and net pots.
- Choose a location with adequate light exposure, temperature control, accessibility, pest-free environment, and good ventilation.
- Assemble the reservoir by disinfecting, drilling holes, installing bulkhead fittings, and preparing the nutrient solution.
- Install the pump at the reservoir's bottom, connect it to the main irrigation line, and set up a timer for automated nutrient delivery.
Gather Necessary Materials
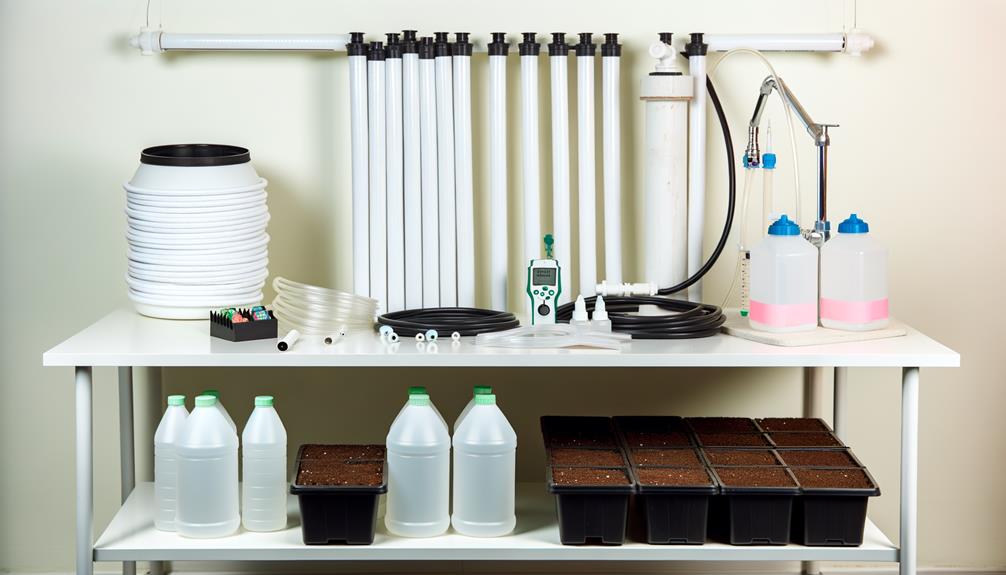
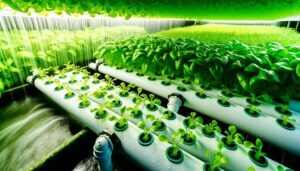
To begin setting up a hydroponic drip system, it is vital to first gather all necessary materials, including a reservoir, submersible pump, tubing, drip emitters, growing medium, and net pots.
The reservoir should be non-reactive and of adequate volume to supply nutrient solution. A submersible pump with the appropriate flow rate is fundamental for consistent nutrient delivery.
Tubing, preferably made from food-grade materials, must be carefully selected for compatibility. Drip emitters, calibrated to release precise quantities of nutrients, are essential for uniform plant nourishment.
Choose a growing medium, such as expanded clay pellets or rock wool, which provides ideal aeration and moisture retention. Net pots, preferably of suitable size for the plant species, guarantee proper root support and easy handling.
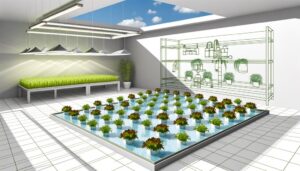
Choose a Suitable Location
After gathering the necessary materials, the next step involves selecting an ideal location that guarantees adequate light, temperature control, and accessibility for maintenance.
Ideal light exposure is paramount; make sure the location receives at least 12-16 hours of high-intensity light daily, using supplemental grow lights if natural light is insufficient.
Temperature regulation is critical; maintain ambient temperatures between 65-75°F (18-24°C) to foster plant growth and nutrient uptake.
Additionally, the location should be accessible for routine maintenance, enabling easy monitoring of nutrient levels, pH, and system integrity.
Make sure the area is free from pests and contaminants, as these can compromise the system's efficiency.
A well-ventilated space will also help mitigate mold and mildew risks, enhancing plant health.
Assemble the Reservoir
When assembling the reservoir, begin by meticulously cleaning the container to confirm it is free of any contaminants that could jeopardize the nutrient solution's integrity. Choose a food-grade plastic or stainless steel container to avoid chemical leaching.
Follow these steps:
- Disinfect the Container: Use a mild bleach solution to sanitize the reservoir, then rinse thoroughly with clean water.
- Drill Inlet and Outlet Holes: Precisely measure and drill holes for the tubing; verify they are smooth-edged to prevent leaks.
- Install Bulkhead Fittings: Securely attach bulkhead fittings to the drilled holes to facilitate a watertight seal.
- Prepare the Nutrient Solution: Mix the hydroponic nutrients according to manufacturer specifications and fill the reservoir.
Confirm all components are firmly in place before proceeding to the next steps.
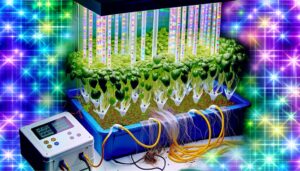
Install the Pump and Timer
Guarantee precise operation of your hydroponic drip system by installing a high-quality submersible pump and an adjustable timer.
Select a pump with adequate flow rate and head height to guarantee consistent nutrient delivery. Position the submersible pump at the bottom of the reservoir, securing it to prevent vibrations. Connect the pump's outlet to the main irrigation line using appropriate fittings. Integrate an inline filter to prevent clogging.
Next, set up the adjustable timer to automate the pump's operation. Program the timer for specific intervals to maintain ideal nutrient flow cycles, guaranteeing plants receive nutrients at regular intervals. Synchronize the timer with the pump by plugging the pump into the timer's outlet, guaranteeing seamless nutrient distribution.
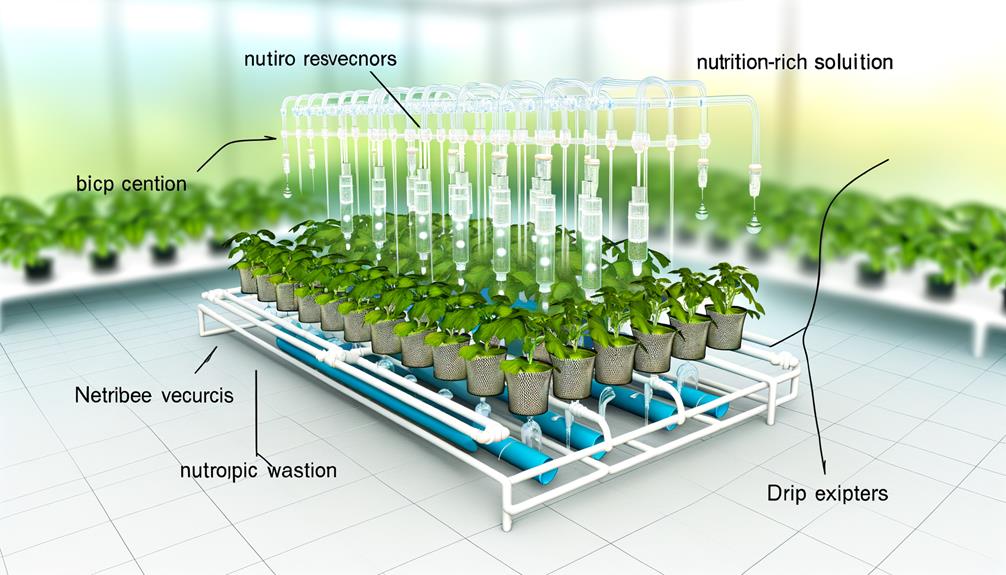
Set Up Drip Lines
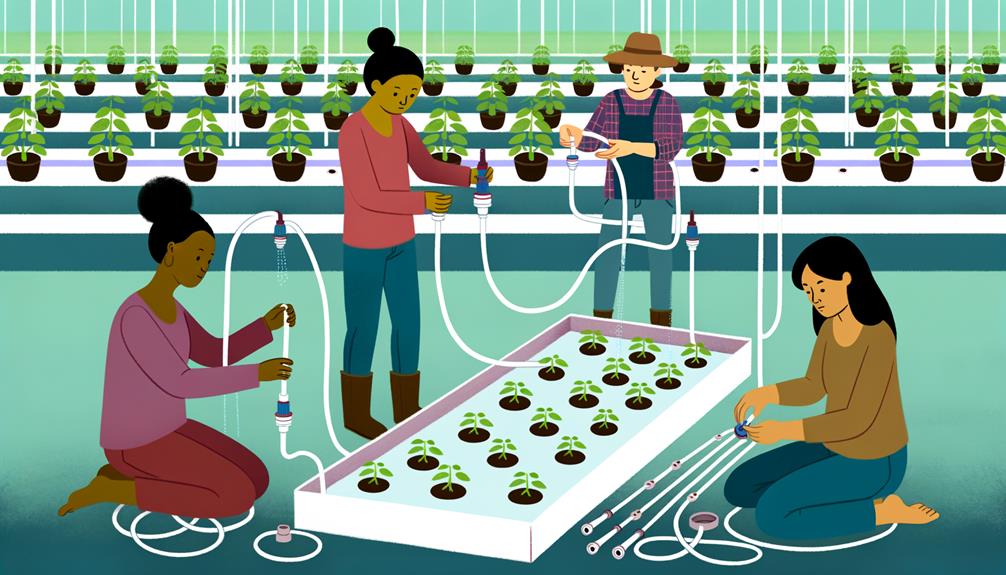
To set up the drip lines, begin by accurately positioning the drip emitters to guarantee uniform water distribution to each plant's root zone.
Next, securely connect the tubing to the emitters and the main supply line, making certain all connections are watertight to prevent any leaks.
Utilize proper fittings and clamps to maintain a stable and efficient system configuration.
Position Drip Emitters
Proper placement of drip emitters is essential to guarantee uniform water distribution and optimal nutrient delivery to each plant in your hydroponic drip system. To achieve ideal results, adherence to the following advanced guidelines is recommended:
- Emitter Spacing: Position emitters equidistantly, guaranteeing each plant receives consistent hydration.
- Height Adjustment: Adjust emitter height above the root zone to prevent nutrient solution backflow and guarantee precise delivery.
- Flow Rate Calibration: Utilize emitters with adjustable flow rates, fine-tuning them according to plant-specific requirements.
- Secure Fastening: Anchor emitters securely to prevent displacement during operation, maintaining consistent water flow.
These meticulous steps will enhance the efficiency and productivity of your hydroponic system, driving innovative agricultural practices forward.
Connect Tubing Securely
Securely connecting the tubing is pivotal to guaranteeing a seamless and efficient flow of nutrient solution throughout your hydroponic drip system.
Begin by cutting the tubing to precise lengths using a sharp utility knife to avoid any potential blockages.
Utilize barbed connectors and T-joints to create a robust framework, guaranteeing each connection is pushed firmly into place to prevent leaks.
Employ hose clamps for added security on critical junctions. It is advisable to submerge the tubing ends in warm water briefly to facilitate easier attachment.
Finally, utilize a pressure regulator to maintain consistent flow rates, and periodically inspect all connections for signs of wear or leaks.
Properly secured tubing guarantees maximum nutrient delivery and system longevity.
Prepare Growing Medium
To initiate the preparation of the growing medium, start by selecting a suitable medium such as expanded clay pellets, rockwool, or coconut coir, each offering unique benefits regarding aeration and moisture retention.
Prior to use, pre-soak the chosen medium in pH-balanced water to guarantee ideal nutrient absorption.
After soaking, thoroughly drain the medium to eliminate excess water, preventing potential issues with root oxygenation.
Choose Suitable Medium
Selecting an appropriate growing medium is essential for optimizing nutrient delivery, root aeration, and overall plant health in a hydroponic drip system. The choice of medium directly impacts the efficiency of the irrigation and nutrient absorption process.
Consider the following advanced mediums:
- Coco Coir: Renowned for its excellent water retention and aeration properties, making it ideal for various plant species.
- Expanded Clay Pellets: Highly durable and reusable, these pellets provide superior drainage and root aeration.
- Rockwool: Known for its high water-holding capacity and pH neutrality, it supports robust root growth.
- Perlite: Lightweight and porous, perlite enhances drainage and prevents root rot, promoting a healthy root environment.
Each medium presents unique benefits, tailored to specific plant requirements and system configurations.
Pre-soak and Drain
After selecting the appropriate growing medium, the next step involves pre-soaking and draining the medium to guarantee ideal hydration and nutrient absorption for your hydroponic drip system.
Begin by immersing the medium in a pH-balanced water solution, ideally with a pH level between 5.5 and 6.5, for 24 hours. This step assures the medium becomes uniformly saturated and free of impurities.
Subsequently, drain the medium thoroughly to prevent waterlogging, which could impede root aeration. Utilize a fine mesh sieve to facilitate effective draining.
This process optimizes the medium's capillary action, enhancing its ability to deliver nutrients directly to the plant roots. Proper pre-soaking and draining are essential for maintaining a stable and efficient hydroponic environment.
Plant Your Seeds or Seedlings
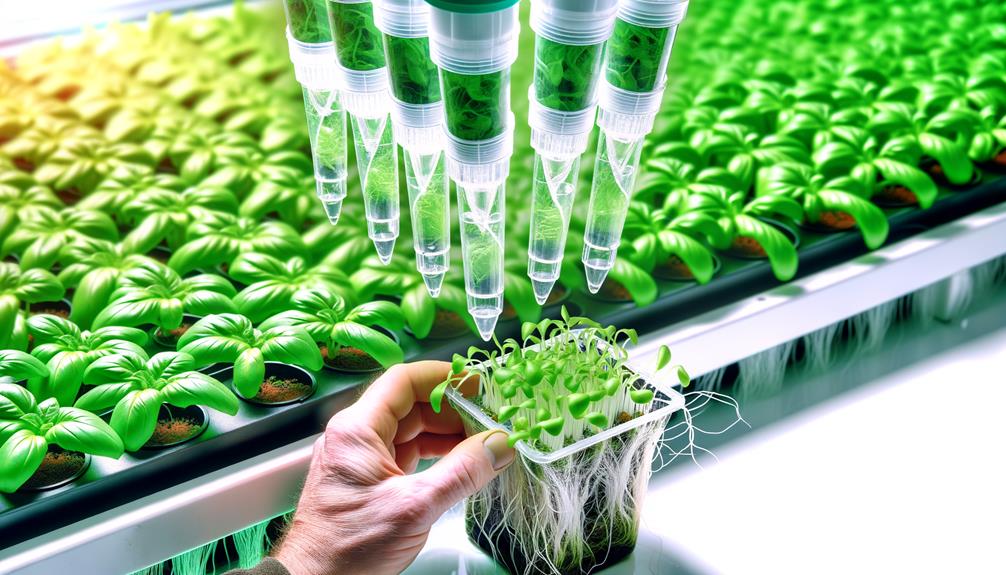
Initiating the planting process involves carefully placing seeds or seedlings into the designated grow medium within the hydroponic drip system, guaranteeing ideal spacing and depth for root development.
The following steps outline the procedure:
- Determine Ideal Spacing: Assess the mature size of your plants and allocate appropriate space to prevent overcrowding and guarantee adequate light penetration.
- Prepare the Grow Medium: Utilize a sterile, pH-balanced medium such as rock wool or coco coir, pre-soaked to the recommended moisture level.
- Position Seeds or Seedlings: Insert seeds at a depth of 1-2 centimeters or place seedlings such that their root systems are fully enveloped by the medium.
- Secure and Stabilize: Gently firm the medium around seeds or seedlings to eliminate air pockets and provide stability for emerging roots.
This meticulous approach supports robust plant growth and maximizes yield potential.
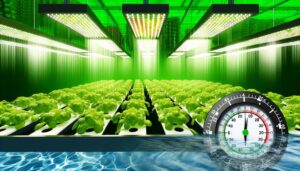
Monitor and Maintain System
To guarantee the best performance and longevity of your hydroponic drip system, it is imperative to regularly monitor key parameters such as nutrient solution pH, electrical conductivity (EC), and water levels.
Utilize a high-precision pH meter to verify the nutrient solution remains within the ideal range of 5.5 to 6.5, thereby facilitating maximum nutrient uptake.
Employ an EC meter to confirm that the solution maintains a suitable conductivity level, typically between 1.2 to 2.0 mS/cm, to prevent nutrient imbalances.
Consistently check water levels to avoid pump failure and guarantee continuous nutrient delivery.
Implement automated sensors and alarms for real-time monitoring and instant alerts.
Regular maintenance, including cleaning drip emitters and replacing filters, is essential to prevent blockages and guarantee system efficiency.
Conclusion
The successful establishment of a hydroponic drip system juxtaposes the intricate assembly of technical components with the nurturing simplicity of plant care. This method ensures that nutrient-rich water is delivered directly to plant roots, optimizing growth while conserving resources. A top drip bucket hydroponic system exemplifies this efficiency by allowing precise control over hydration and aeration, reducing waste and enhancing plant health. As a result, growers can achieve higher yields with minimal environmental impact.
Ensuring precise installation of the reservoir, pump, and timer underscores the importance of mechanical accuracy.
Meanwhile, the meticulous preparation of the growing medium and careful planting of seeds or seedlings highlight the delicate balance of horticultural expertise.
Continuous monitoring and maintenance harmonize technological precision with biological growth, fostering an environment where plants thrive through hydroponic innovation.