Turn a Soda Bottle Into a Hydroponic System in 5 Easy Steps
Converting a soda bottle into a hydroponic system involves several precise steps. Start by cleaning the bottle thoroughly to eliminate any contamination.
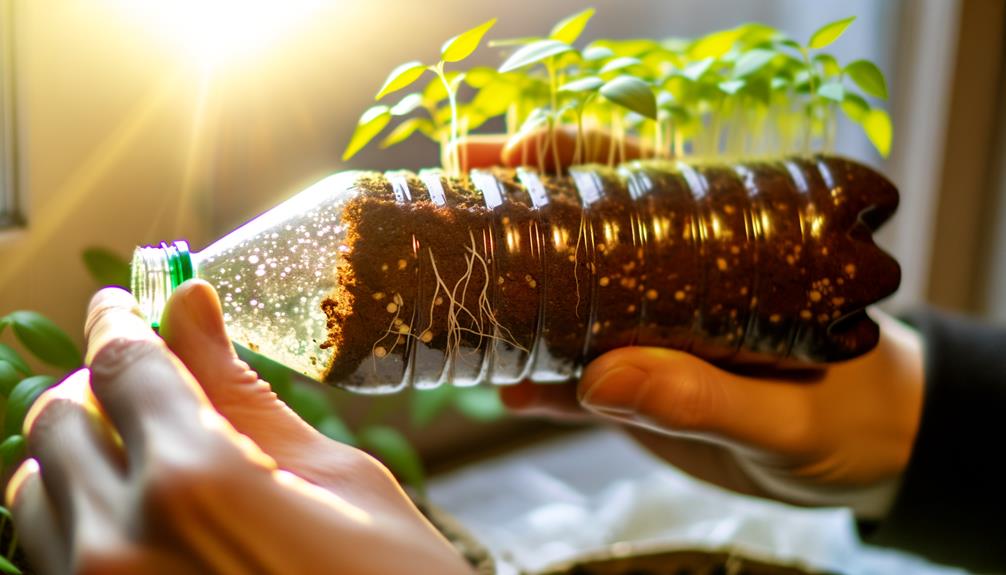
Using a sharp knife, cut the bottle into two sections: the bottom will serve as a nutrient reservoir, while the top, inverted, acts as the plant holder. Install a wick through a hole in the bottle cap to facilitate nutrient absorption.
Fill the top section with a growing medium like perlite or coconut coir and plant your seeds or seedlings. Mixing a balanced hydroponic nutrient solution and setting up an appropriate lighting system are essential next steps.
Continue to discover more detailed processes and maintenance tips.
Key Takeaways
- Gather an empty soda bottle, cutting tools, growing medium, hydroponic nutrients, wicking material, and a small plant or seedling.
- Clean the bottle thoroughly, removing any contaminants and adhesive residue.
- Cut the bottle in half, invert the top into the bottom, and drill a hole in the cap for the wick.
- Insert an absorbent wick through the cap, ensuring it reaches the nutrient solution and the growing medium.
Gather Your Materials
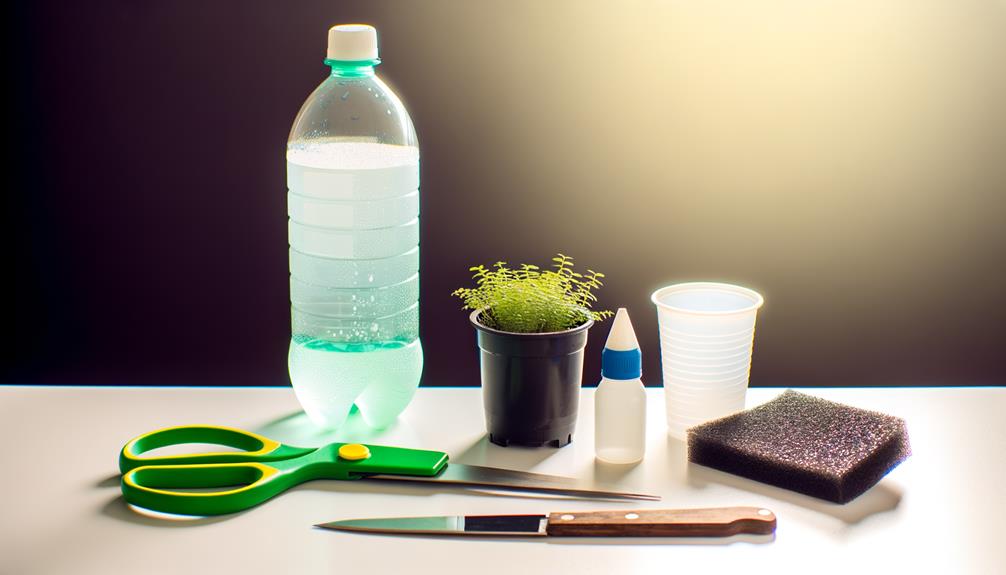
Begin by assembling all necessary components, which include a clean, empty soda bottle, a cutting tool, a growing medium, hydroponic nutrients, a wick, and a small plant or seedling.
The soda bottle will serve as the primary reservoir and support structure for your hydroponic system.
Selecting a precise cutting tool guarantees clean incisions, reducing the risk of structural failure.
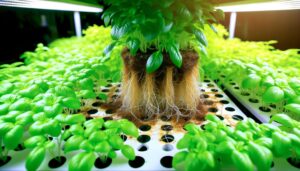
The growing medium, such as perlite or vermiculite, provides stability and aeration for root development.
Hydroponic nutrients should be meticulously chosen to supply essential macro and micronutrients.
The wick, often made from cotton or nylon, facilitates capillary action to transport nutrient solution to the plant roots.
Clean the Soda Bottle
To prepare the soda bottle for conversion into a hydroponic system, it is essential to guarantee it is thoroughly cleaned.
Begin by rinsing the bottle with warm water and mild detergent to remove any residual liquids and contaminants, followed by drying it completely to prevent mold growth.
Additionally, eliminate any label adhesive using a solvent such as rubbing alcohol to guarantee a smooth, contaminant-free surface.
Rinse and Dry Thoroughly
Thoroughly rinsing and drying the soda bottle is essential to eliminate any residual sugars and contaminants that could disrupt the hydroponic system.
Begin by using warm, soapy water to cleanse the interior and exterior surfaces. This guarantees the removal of any sticky residues and microbial contaminants. Rinse meticulously with clean water to eliminate soap traces, which could alter the pH of the nutrient solution.
Employ a brush to reach crevices and ensure extensive cleaning. After rinsing, allow the bottle to air dry completely in a sterile environment to prevent mold and bacterial growth.
This step is critical as any moisture left could foster undesirable microbial proliferation, potentially compromising the integrity and efficiency of the hydroponic system.
Remove Label Adhesive
After ensuring the bottle is impeccably clean and dry, the next step involves the meticulous removal of label adhesive to prevent any chemical interference with the hydroponic system.
Begin by applying an adhesive remover or a mixture of baking soda and vegetable oil to the affected area. Let it sit for approximately 10-15 minutes to break down the adhesive bonds.
Using a non-abrasive cloth or sponge, gently scrub the surface until the adhesive is completely eradicated. Rinse thoroughly with warm water to eliminate any residual cleaning solution.
This step is essential, as any remaining adhesive or cleaner can introduce unwanted contaminants, potentially disrupting the nutrient balance and adversely affecting plant health within the hydroponic environment.
Cut the Bottle
To initiate the cutting process, first use a permanent marker to delineate the cutting line around the bottle at the desired height.
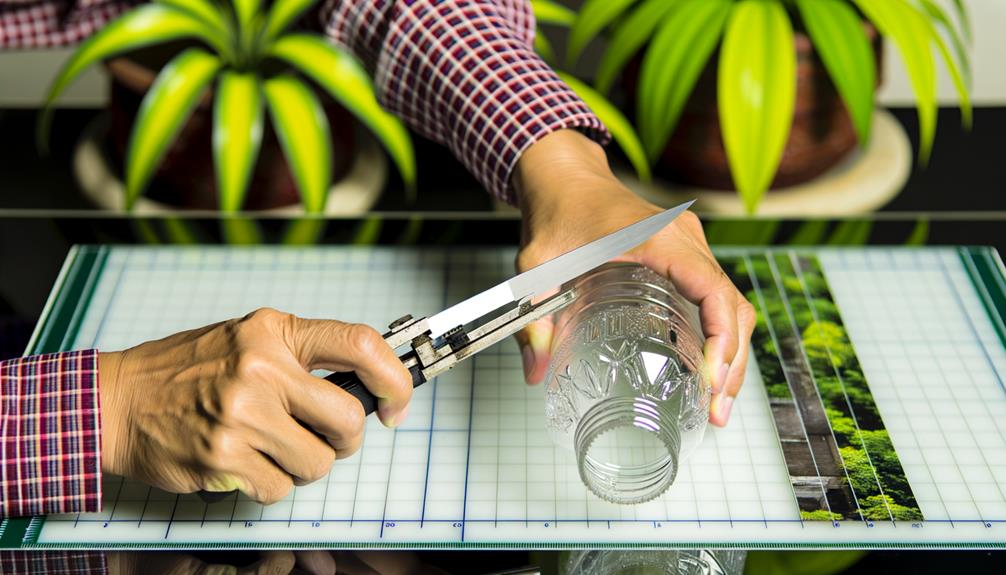
Carefully separate the top half from the bottom half using a sharp utility knife or scissors.
After separation, make sure all edges are smoothed with fine-grit sandpaper to prevent any potential hazards during subsequent handling.
Mark Cutting Line
Using a permanent marker, draw a precise line around the circumference of the bottle at the desired height to guarantee an even cut. This step is essential to confirm structural integrity and uniformity in your hydroponic system.
Employ a ruler or a flexible measuring tape to ascertain the exact height, typically around one-third from the bottle's base. The accuracy of this line is critical, as it dictates the alignment of the bottle's subsequent configuration.
For enhanced precision, consider using a piece of masking tape wrapped around the bottle to serve as a guide. Consistency in this measurement guarantees ideal support and balance for the hydroponic components, thereby promoting a stable and efficient growing environment.
Separate Top Half
Carefully score along the marked line with a sharp utility knife or a pair of sturdy scissors to initiate the separation of the bottle's top half.
Employ steady, controlled movements to guarantee precision in the initial cut. Once the score line is established, progressively deepen the incision, maintaining an even trajectory to avoid asymmetrical edges.
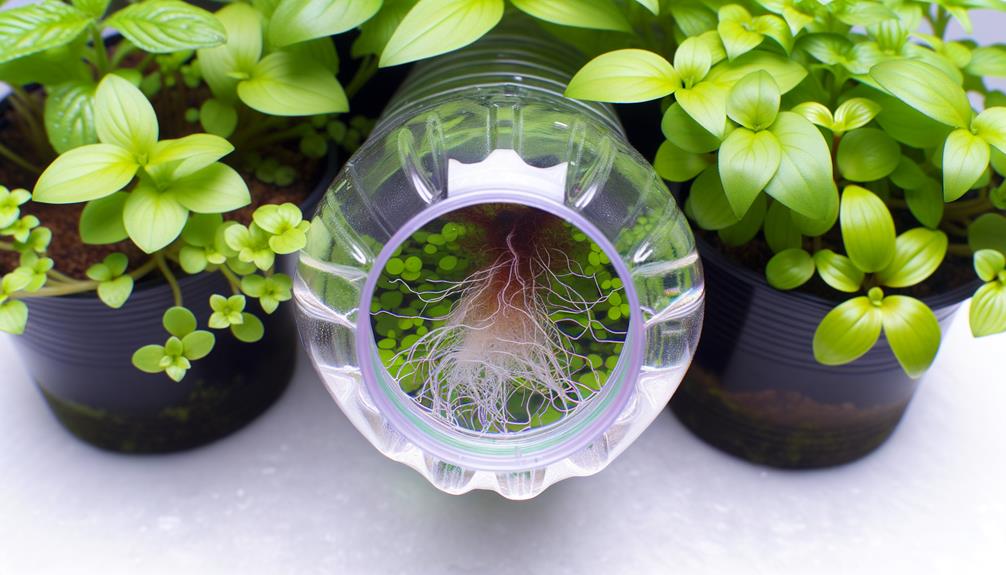
The objective is to create two distinct sections: the top half, which will function as the plant holder, and the bottom half, serving as the nutrient reservoir.
This separation is critical for the hydroponic system's efficacy, as it facilitates maximum nutrient delivery and root aeration.
Confirm that the cut is clean and accurate to maintain structural integrity and functionality.
Smooth Sharp Edges
Smoothing the sharp edges of the cut bottle is essential to prevent injury and guarantee the structural integrity of the hydroponic system.
Employ fine-grit sandpaper (ranging from 200 to 400 grit) to meticulously abrade the edges. This process minimizes micro-fractures that could compromise the bottle's stability under pressure.
Alternatively, using a handheld rotary tool with a sanding attachment can expedite this task, offering precision and uniformity.
Thermal smoothing is another option; cautiously apply a heat source, such as a lighter or heat gun, to slightly melt and round off the sharp ridges.
These techniques guarantee a safe handling experience while maintaining the system's resilience.
Confirming smooth edges optimizes the bottle's longevity and functionality in its new role as a hydroponic vessel.
Assemble the System
To assemble the hydroponic system, begin by cutting the soda bottle in half to create the reservoir and the plant holder. The bottom half will serve as the nutrient reservoir, while the top half, inverted, functions as the plant holder.
Make certain the cut edges are smooth to prevent damage to the wicking material and roots. Drill a small hole in the bottle cap, facilitating the insertion of the wicking material.
Place the inverted top half into the bottom half, making sure of a snug fit that prevents nutrient solution evaporation. Confirm that the bottle cap is securely fastened.
This design allows for ideal nutrient uptake and supports root aeration, critical for robust plant growth in hydroponic systems.
Prepare the Wicking Material
Selecting an appropriate wicking material is essential for efficient nutrient uptake in a hydroponic system.
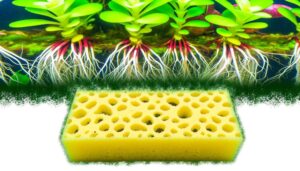
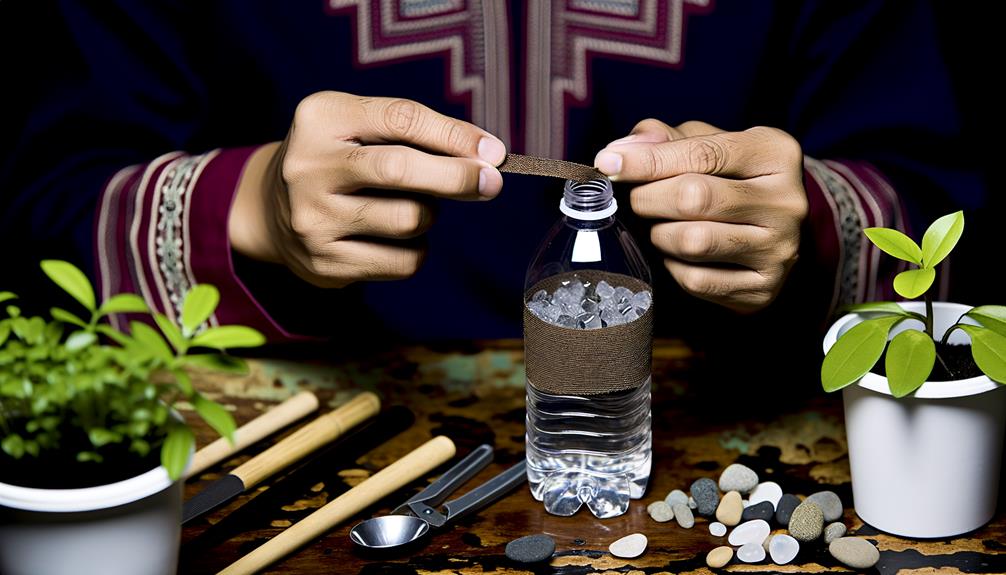
Opt for an absorbent fabric, such as cotton or felt, which guarantees capillary action and consistent moisture distribution.
Measure and cut the fabric to fit snugly within the container, maintaining contact with both the nutrient solution and the plant roots.
Choose Absorbent Fabric
An essential component of the hydroponic system, the wicking material, must be highly absorbent to effectively transport nutrient solution from the reservoir to the plant roots.
Selecting an appropriate fabric is critical; it should exhibit excellent capillary action, facilitating the upward movement of liquids through narrow spaces without external forces.
Materials such as cotton, microfiber cloths, and nylon rope are commonly used due to their superior absorption properties and durability.
Cotton, for instance, has a high cellulose content which enhances its wicking capability.
Meanwhile, microfiber's synthetic fibers increase surface area, optimizing fluid retention and transfer.
Nylon rope, known for its tensile strength and resistance to rotting, offers consistent performance in aqueous environments.
Confirm the chosen fabric is clean and free from contaminants.
Cut to Size
Precisely measuring and cutting the wicking material to fit the dimensions of the soda bottle is essential for guaranteeing efficient nutrient delivery to the plant roots.
Begin by determining the internal circumference of the bottle and the required length of the wick. The wick should extend from the nutrient solution reservoir at the bottom to the plant medium in the upper section.
Using a ruler and sharp scissors, cut the absorbent fabric accurately to avoid fraying. This precise preparation guarantees ideal capillary action, facilitating consistent nutrient uptake.
Employing materials such as cotton or felt, known for their high absorbency, enhances the efficiency of the hydroponic system, promoting robust plant growth through consistent nutrient and moisture supply.
Add the Growing Medium
When adding the growing medium, it is critical to guarantee that it provides ideal aeration and drainage to support root development in a hydroponic environment. The chosen medium should exhibit high porosity to facilitate oxygen availability and prevent waterlogging, which can lead to root rot.
Several suitable growing mediums can be employed:
- Perlite: A volcanic glass that expands when heated, offering excellent aeration and water retention properties.
- Coconut Coir: Derived from coconut husks, it provides a balance of aeration and moisture retention, promoting robust root growth.
Each medium has unique properties, making it essential to select one that aligns with your specific hydroponic requirements.
Plant the Seeds
Carefully place the seeds into the pre-moistened growing medium, guaranteeing they are evenly spaced and positioned at an appropriate depth for perfect germination. Utilize a gentle touch to avoid damaging the seeds, which could affect their viability. Confirm that the seeds are covered lightly with the growing medium to facilitate moisture retention and best light exposure.
| Seed Type | Spacing (cm) | Depth (cm) |
|---|---|---|
| Lettuce | 2 | 0.5 |
| Basil | 2.5 | 0.6 |
| Spinach | 3 | 1.0 |
Maintain consistent moisture levels during the germination period, as uneven hydration can result in less-than-ideal growth or seed failure. Monitor the growing environment closely, adjusting as necessary to achieve the perfect conditions for seedling development. This meticulous approach will guarantee robust plant initiation in your hydroponic system.
Mix the Nutrient Solution
To guarantee ideal growth in your hydroponic system, it is essential to accurately mix a nutrient solution tailored to the specific needs of your plants.
Begin by selecting a high-quality hydroponic nutrient mix, making sure it contains primary macronutrients (nitrogen, phosphorus, potassium) and essential micronutrients (iron, manganese, zinc).
Dissolve the nutrients in distilled water, maintaining a pH range of 5.5 to 6.5 for maximum nutrient uptake.
- Measure precisely: Use a digital scale for precise nutrient measurements.
- Monitor pH levels: Employ a pH meter to maintain the ideal range.
This meticulous approach guarantees that your plants receive the necessary nutrients for robust and healthy growth.
Set Up the Light Source
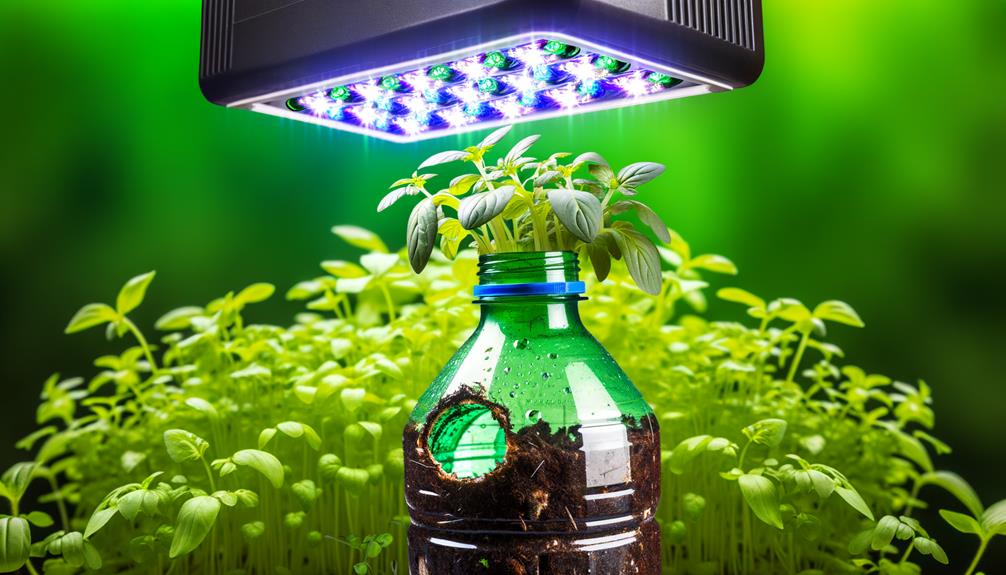
Proper illumination is critical for the ideal growth of plants in a hydroponic system, making it essential to set up an efficient light source.
Plants require specific wavelengths, mainly in the blue (450-495 nm) and red (620-750 nm) spectra, for photosynthesis. LED grow lights, known for their energy efficiency and customizable spectral output, are highly recommended.
Position the light source approximately 6-12 inches above the plant canopy, guaranteeing uniform light distribution. Adjust the photoperiod to simulate natural daylight cycles, typically 14-16 hours of light per day for most vegetables.
Monitoring light intensity with a PAR (Photosynthetically Active Radiation) meter can optimize growth conditions. Ensure that the light source does not emit excessive heat, which could stress the plants.
Maintain Your Hydroponic System
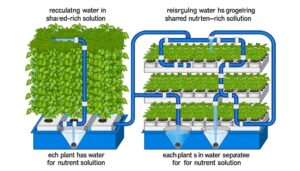
Effective system maintenance is crucial to guarantee peak plant health and productivity in a hydroponic setup. Regular monitoring and adjustments can prevent nutrient imbalances and facilitate ideal growth conditions.
Key maintenance tasks include:
- Nutrient Solution Management: Change the nutrient solution every two weeks to prevent salt buildup and maintain nutrient availability. Monitor pH levels, aiming for a range of 5.5 to 6.5, and adjust using pH up or down solutions as necessary.
- Water Quality: Use filtered or distilled water to avoid contaminants that can harm plants. Regularly check for algae growth, which can deplete nutrients and oxygen.
These practices will maintain system integrity and promote robust plant development.
Conclusion
To summarize, transforming a soda bottle into a hydroponic system provides an efficient and sustainable method for growing plants. This method allows gardeners to cultivate fresh produce without the need for soil, making it ideal for small spaces. A DIY hydroponic system for strawberries can be created using recycled bottles, providing a cost-effective and eco-friendly solution. By controlling nutrient levels and water distribution, this system promotes healthy plant growth while conserving resources.
According to the National Hydroponics Association, hydroponic systems can use up to 90% less water compared to traditional soil-based agriculture. This innovative approach not only maximizes space but also enhances water conservation.
By adhering to detailed assembly and maintenance protocols, one can effectively cultivate plants in a controlled, soil-free environment, thereby contributing to sustainable agricultural practices.